Step 1:
Add Account Linking Options
Add Account Linking Options
To make the user aware of the Alexa integration, offer account linking from your app. For example, you can give users the option to enable account linking after they register with your app or provide them with a button on your settings page.
In this step, you design and implement a screen from which a user can start skill enablement and account linking. This screen should show what the user can do by linking their account with Alexa, such as ordering a car by voice. As you design your screen, follow the best practices for placement of the account linking option and how to minimize the number of clicks.
To add a UI button to your iOS app, follow these steps.
To add an account linking button to your iOS app

To add a UI button to your Android app, follow these steps.
To add an account linking button to your Android app

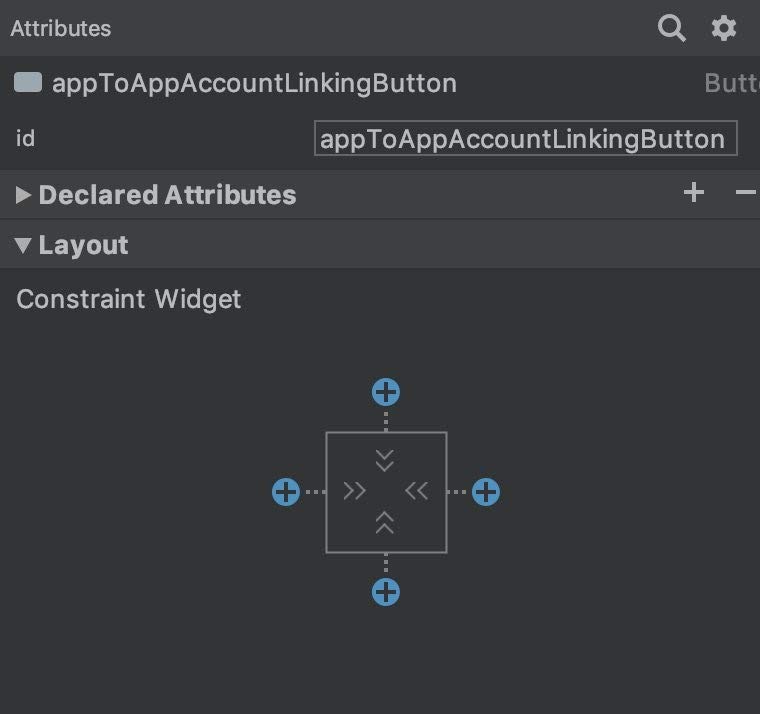
onClick listener behavior to start the flow, similar to the following example.class AppToAppFragment : Fragment() {
private lateinit var appToAppButton: Button
override fun onCreateView(
inflater: LayoutInflater,
container: ViewGroup?,
savedInstanceState: Bundle?
): View? {
val root = inflater.inflate(R.layout.appToAppPage, container, false)
initComponents(root)
appToAppButton.setOnClickListener {
doAppToApp()
}
}
private fun initComponents(root: View) {
appToAppButton = root.findViewById(R.id.appToAppAccountLinkingButton)
}
}
Last updated: frontmatter-missing