Prerequisites
Before you begin, make sure you have:- Amazon Developer Account (required for authentication) — Sign up if you don’t have one
- Vega CLI installed on your development machine — verify with
vega --version. See Install the Vega SDK if not installed - Latest SDK Manager — run
vega updateto get the latest version. See Vega SDK Manager - Fire TV device running Vega OS, connected to the same network as your computer. For a full list of supported devices, see Fire TV device specifications.
Authenticate Developer Mode on Fire TV
Developer Mode requires authentication with your Amazon Developer Account using the Vega CLI. The process involves retrieving an authentication code from your Fire TV device, authenticating through your browser, and completing device enablement from the terminal. Your device reboots automatically after enablement.- Access the Fire TV Settings menu: Option 1: Using Home button a. Press the Home button on your remote to go to the Home screen. b. Navigate to the top menu bar. c. Scroll right to find and select the Settings icon (gear symbol). Option 2: Using Home button shortcut (faster) a. Press and hold the Home button on your remote for 3 seconds. b. Select Settings from the quick menu that appears.
-
Go to Settings > My Fire TV > About.
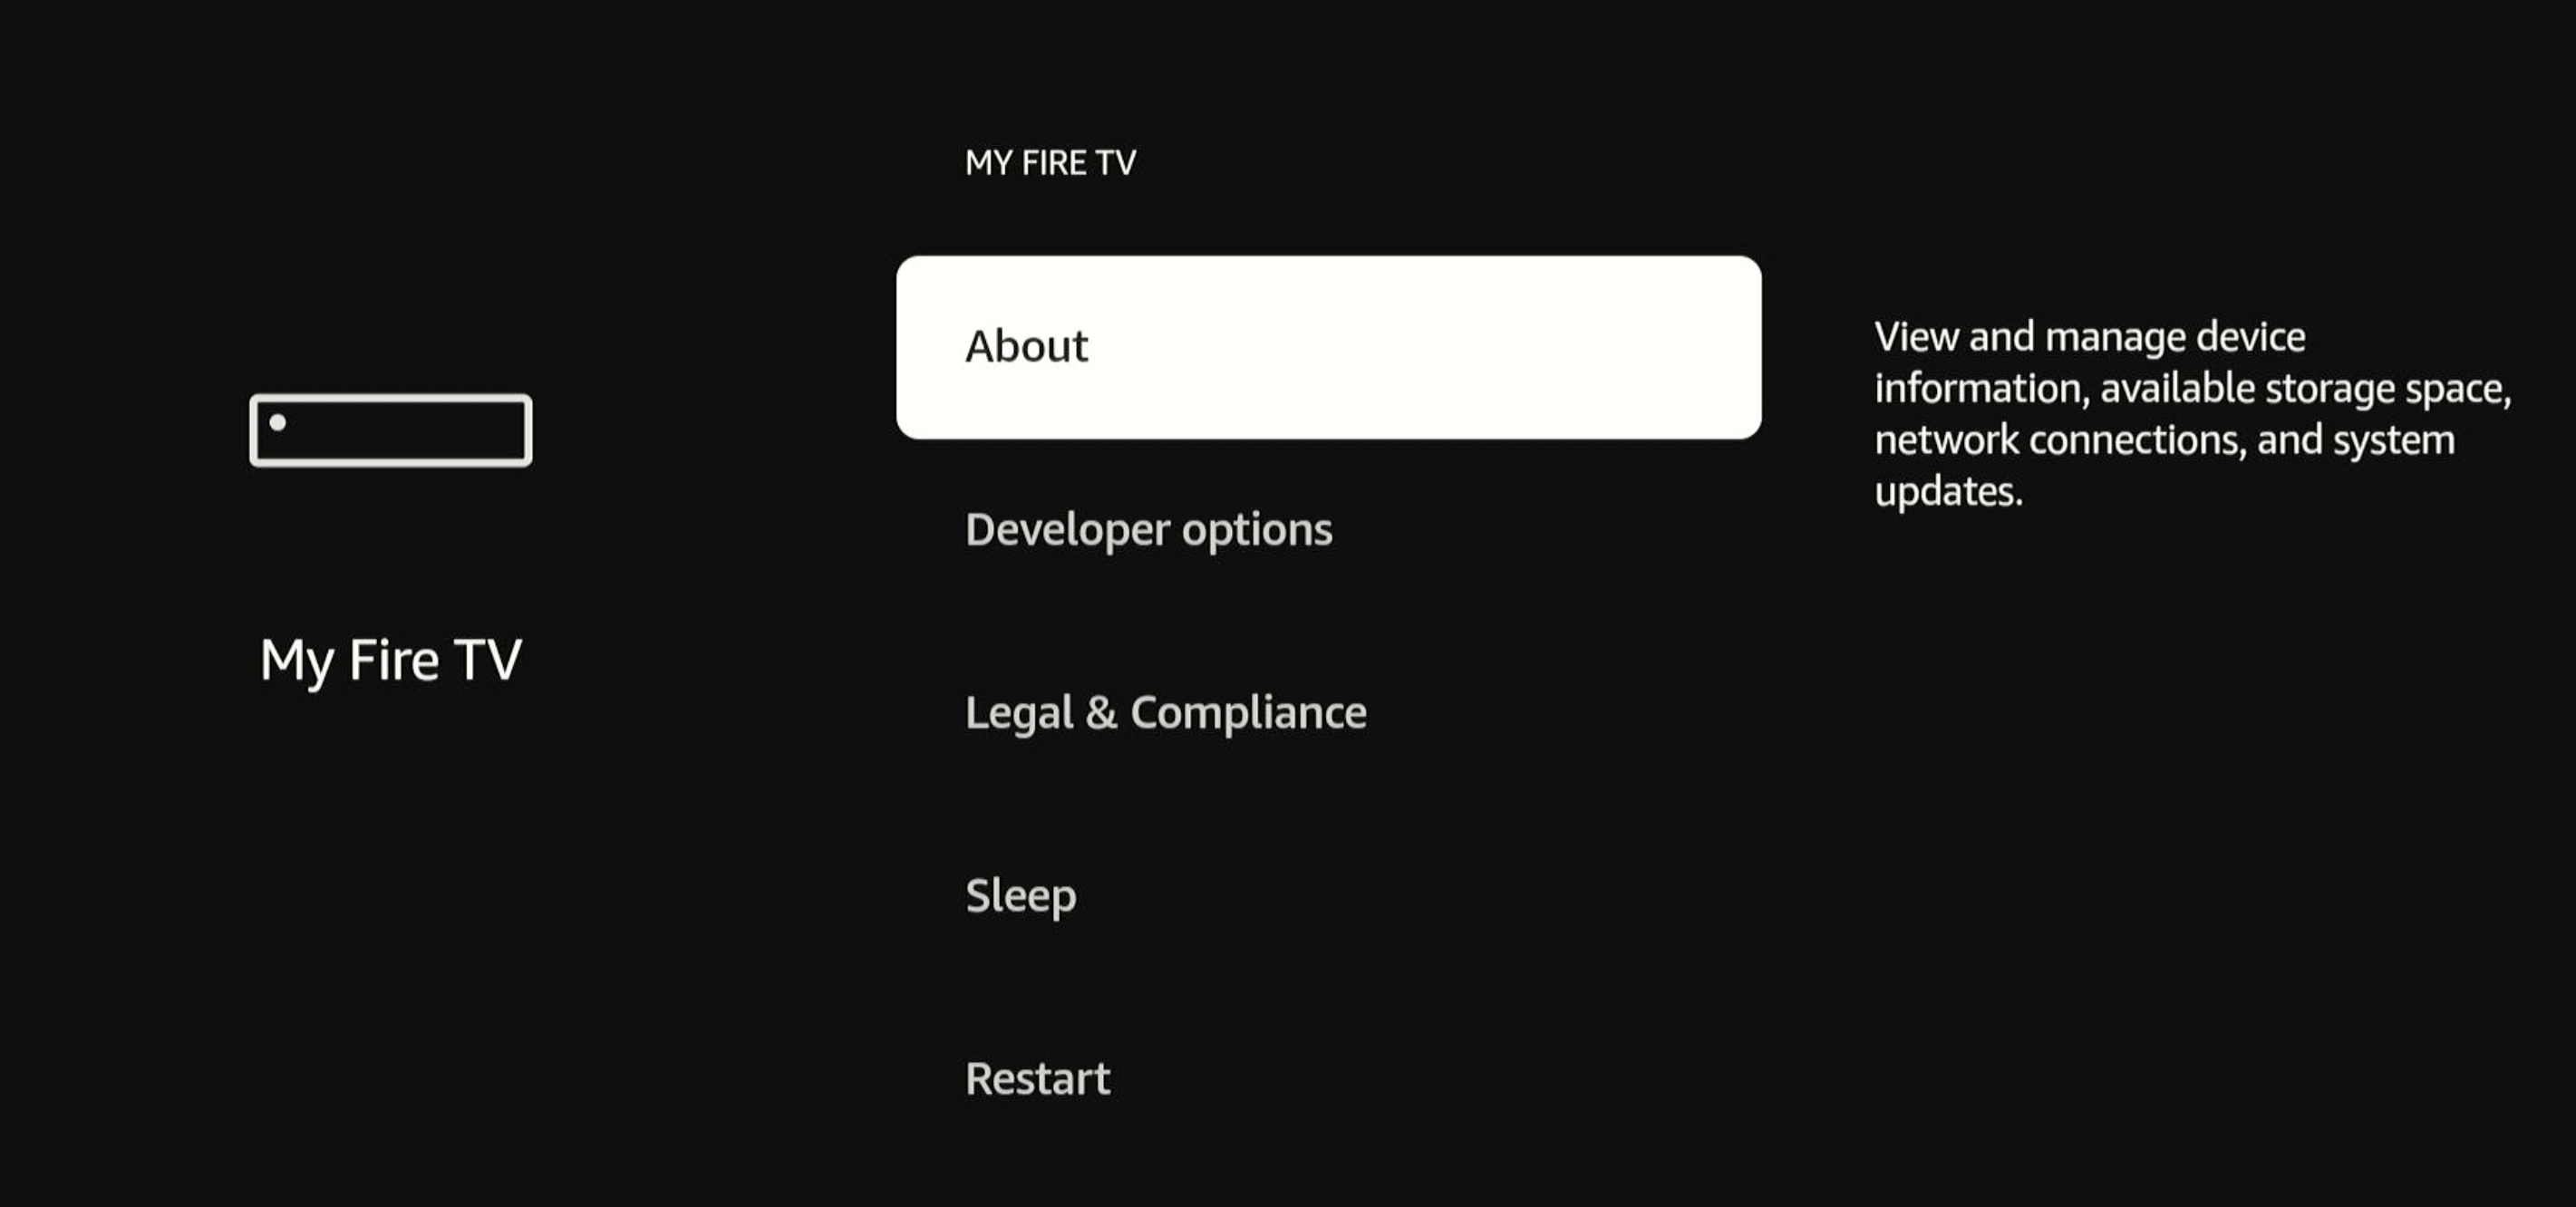
-
Select your device name (for example, Fire TV Stick HD, Fire TV Stick 4K Select, or Fire TV Streaming Media Player).
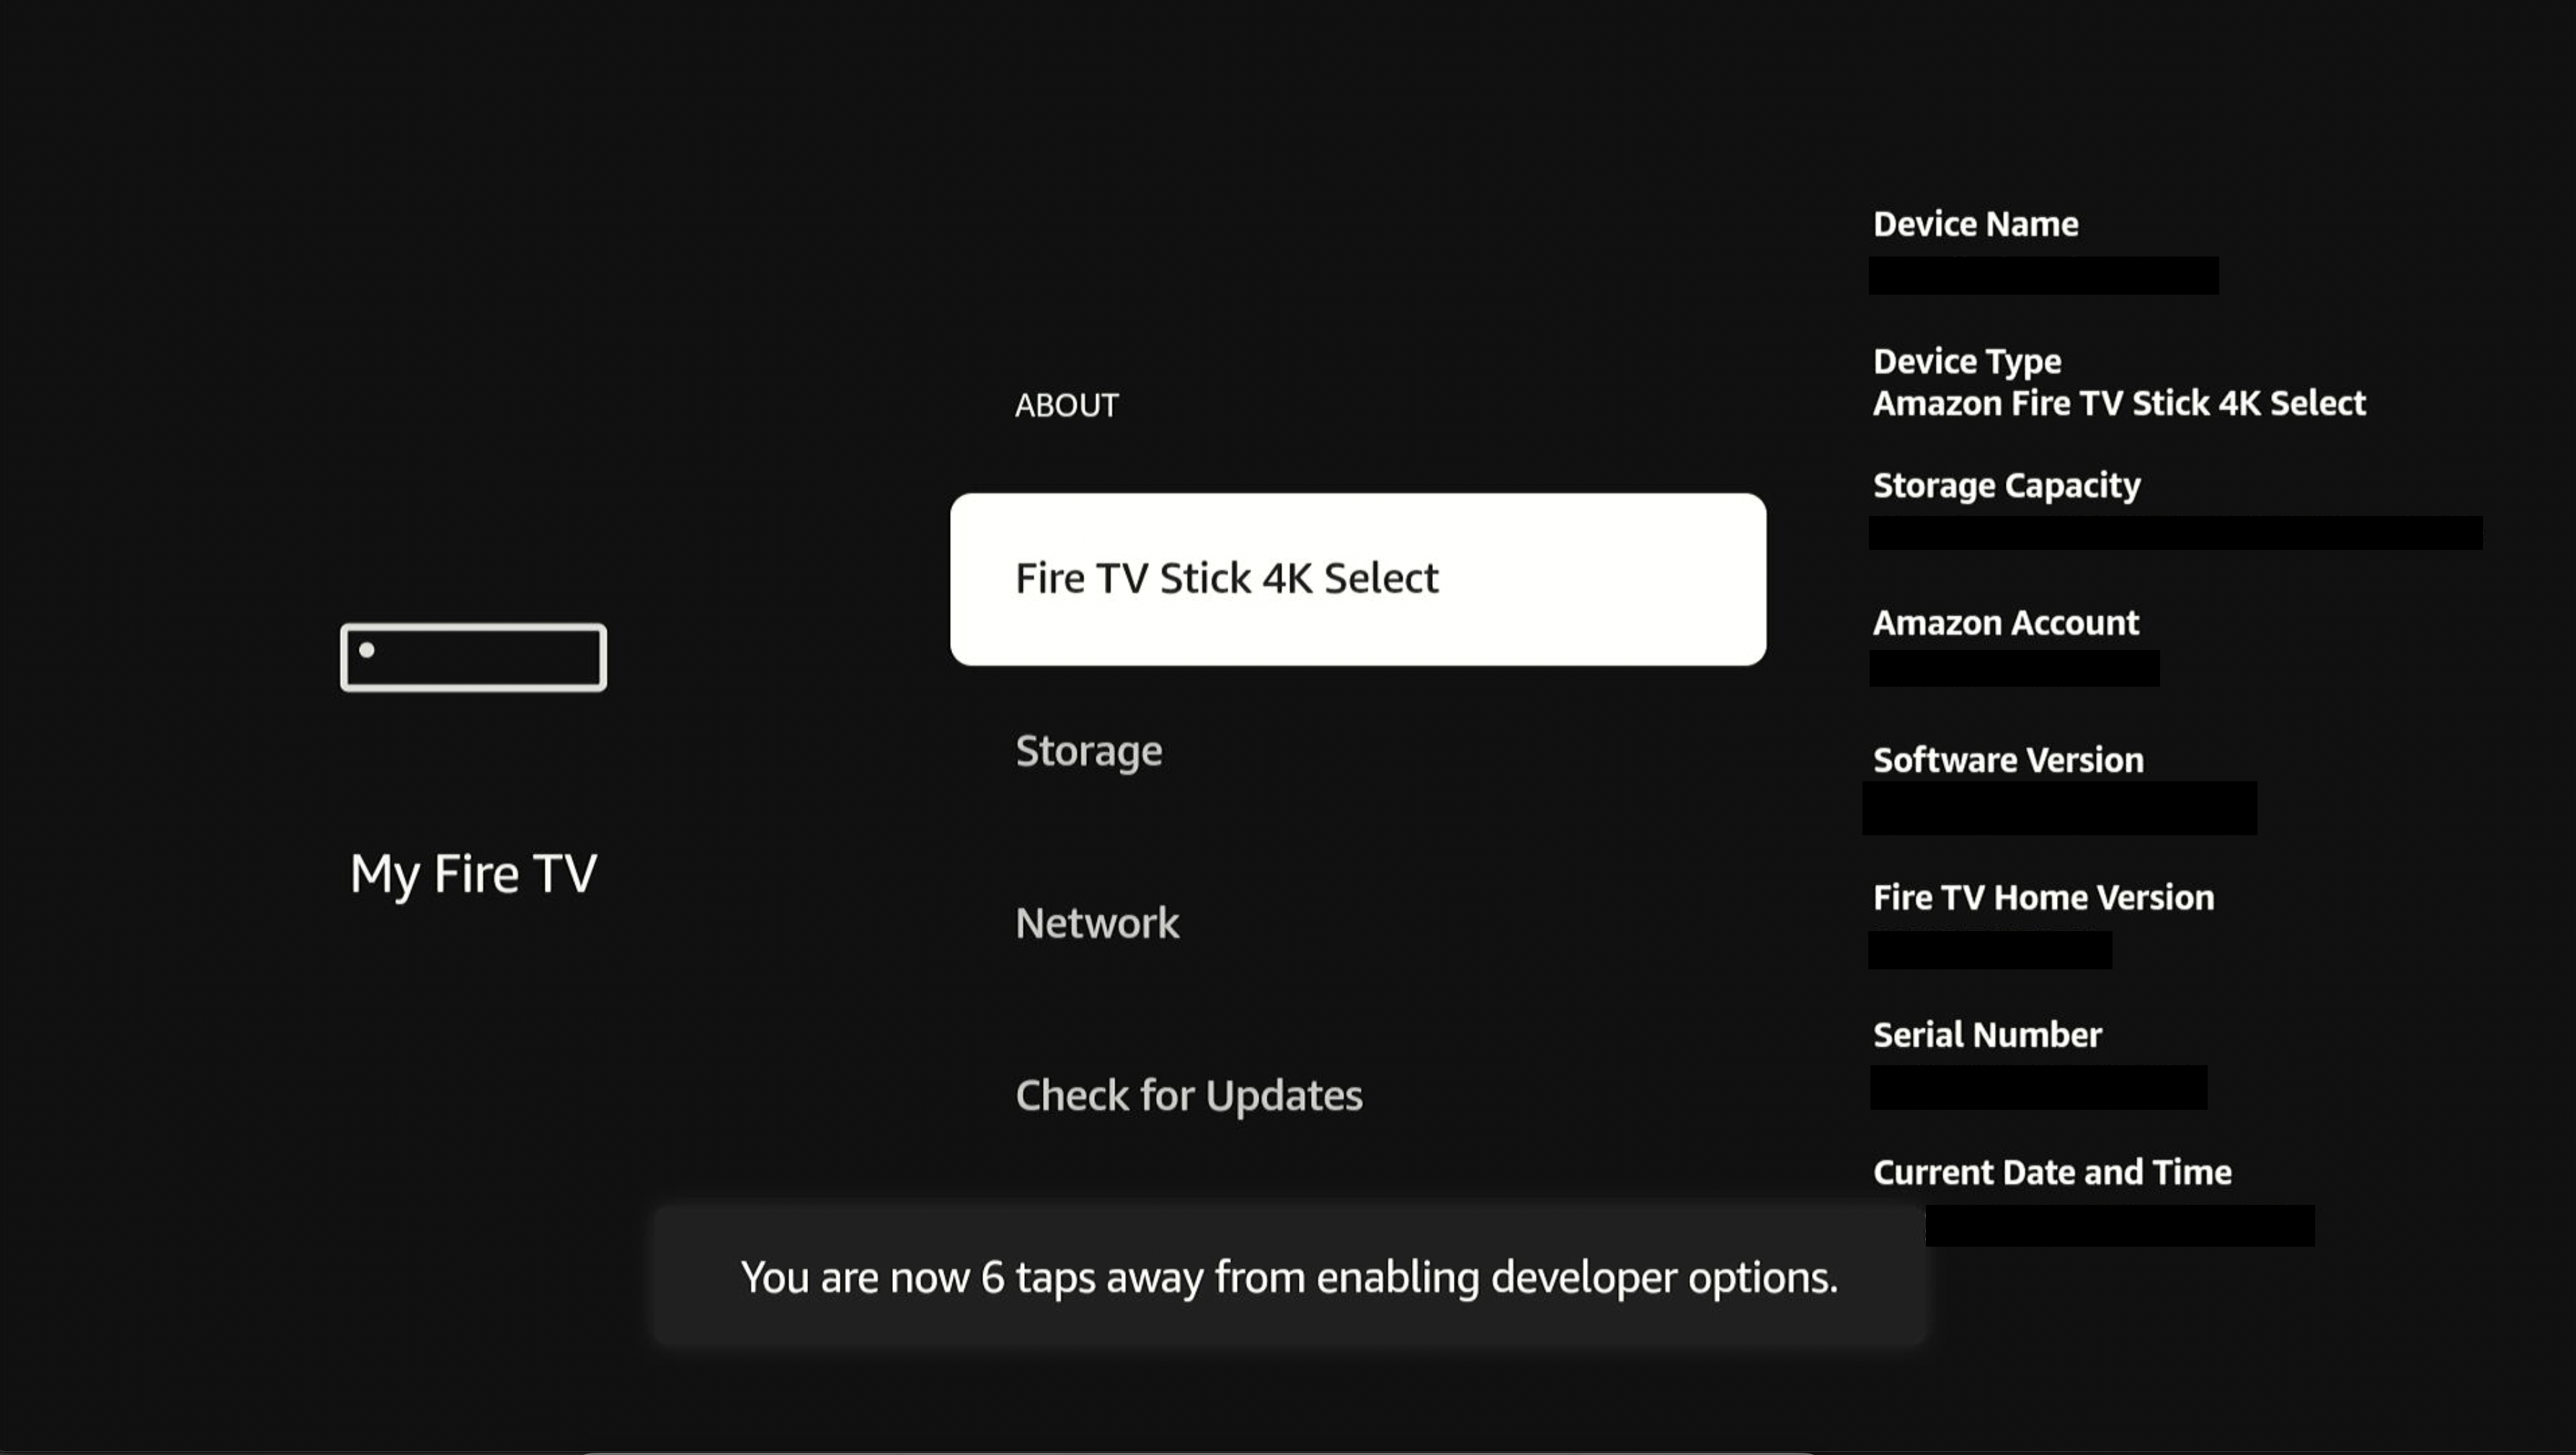
- Press the center button on the remote control seven times. A brief “You are now a developer” notification appears on screen after the seventh press.
-
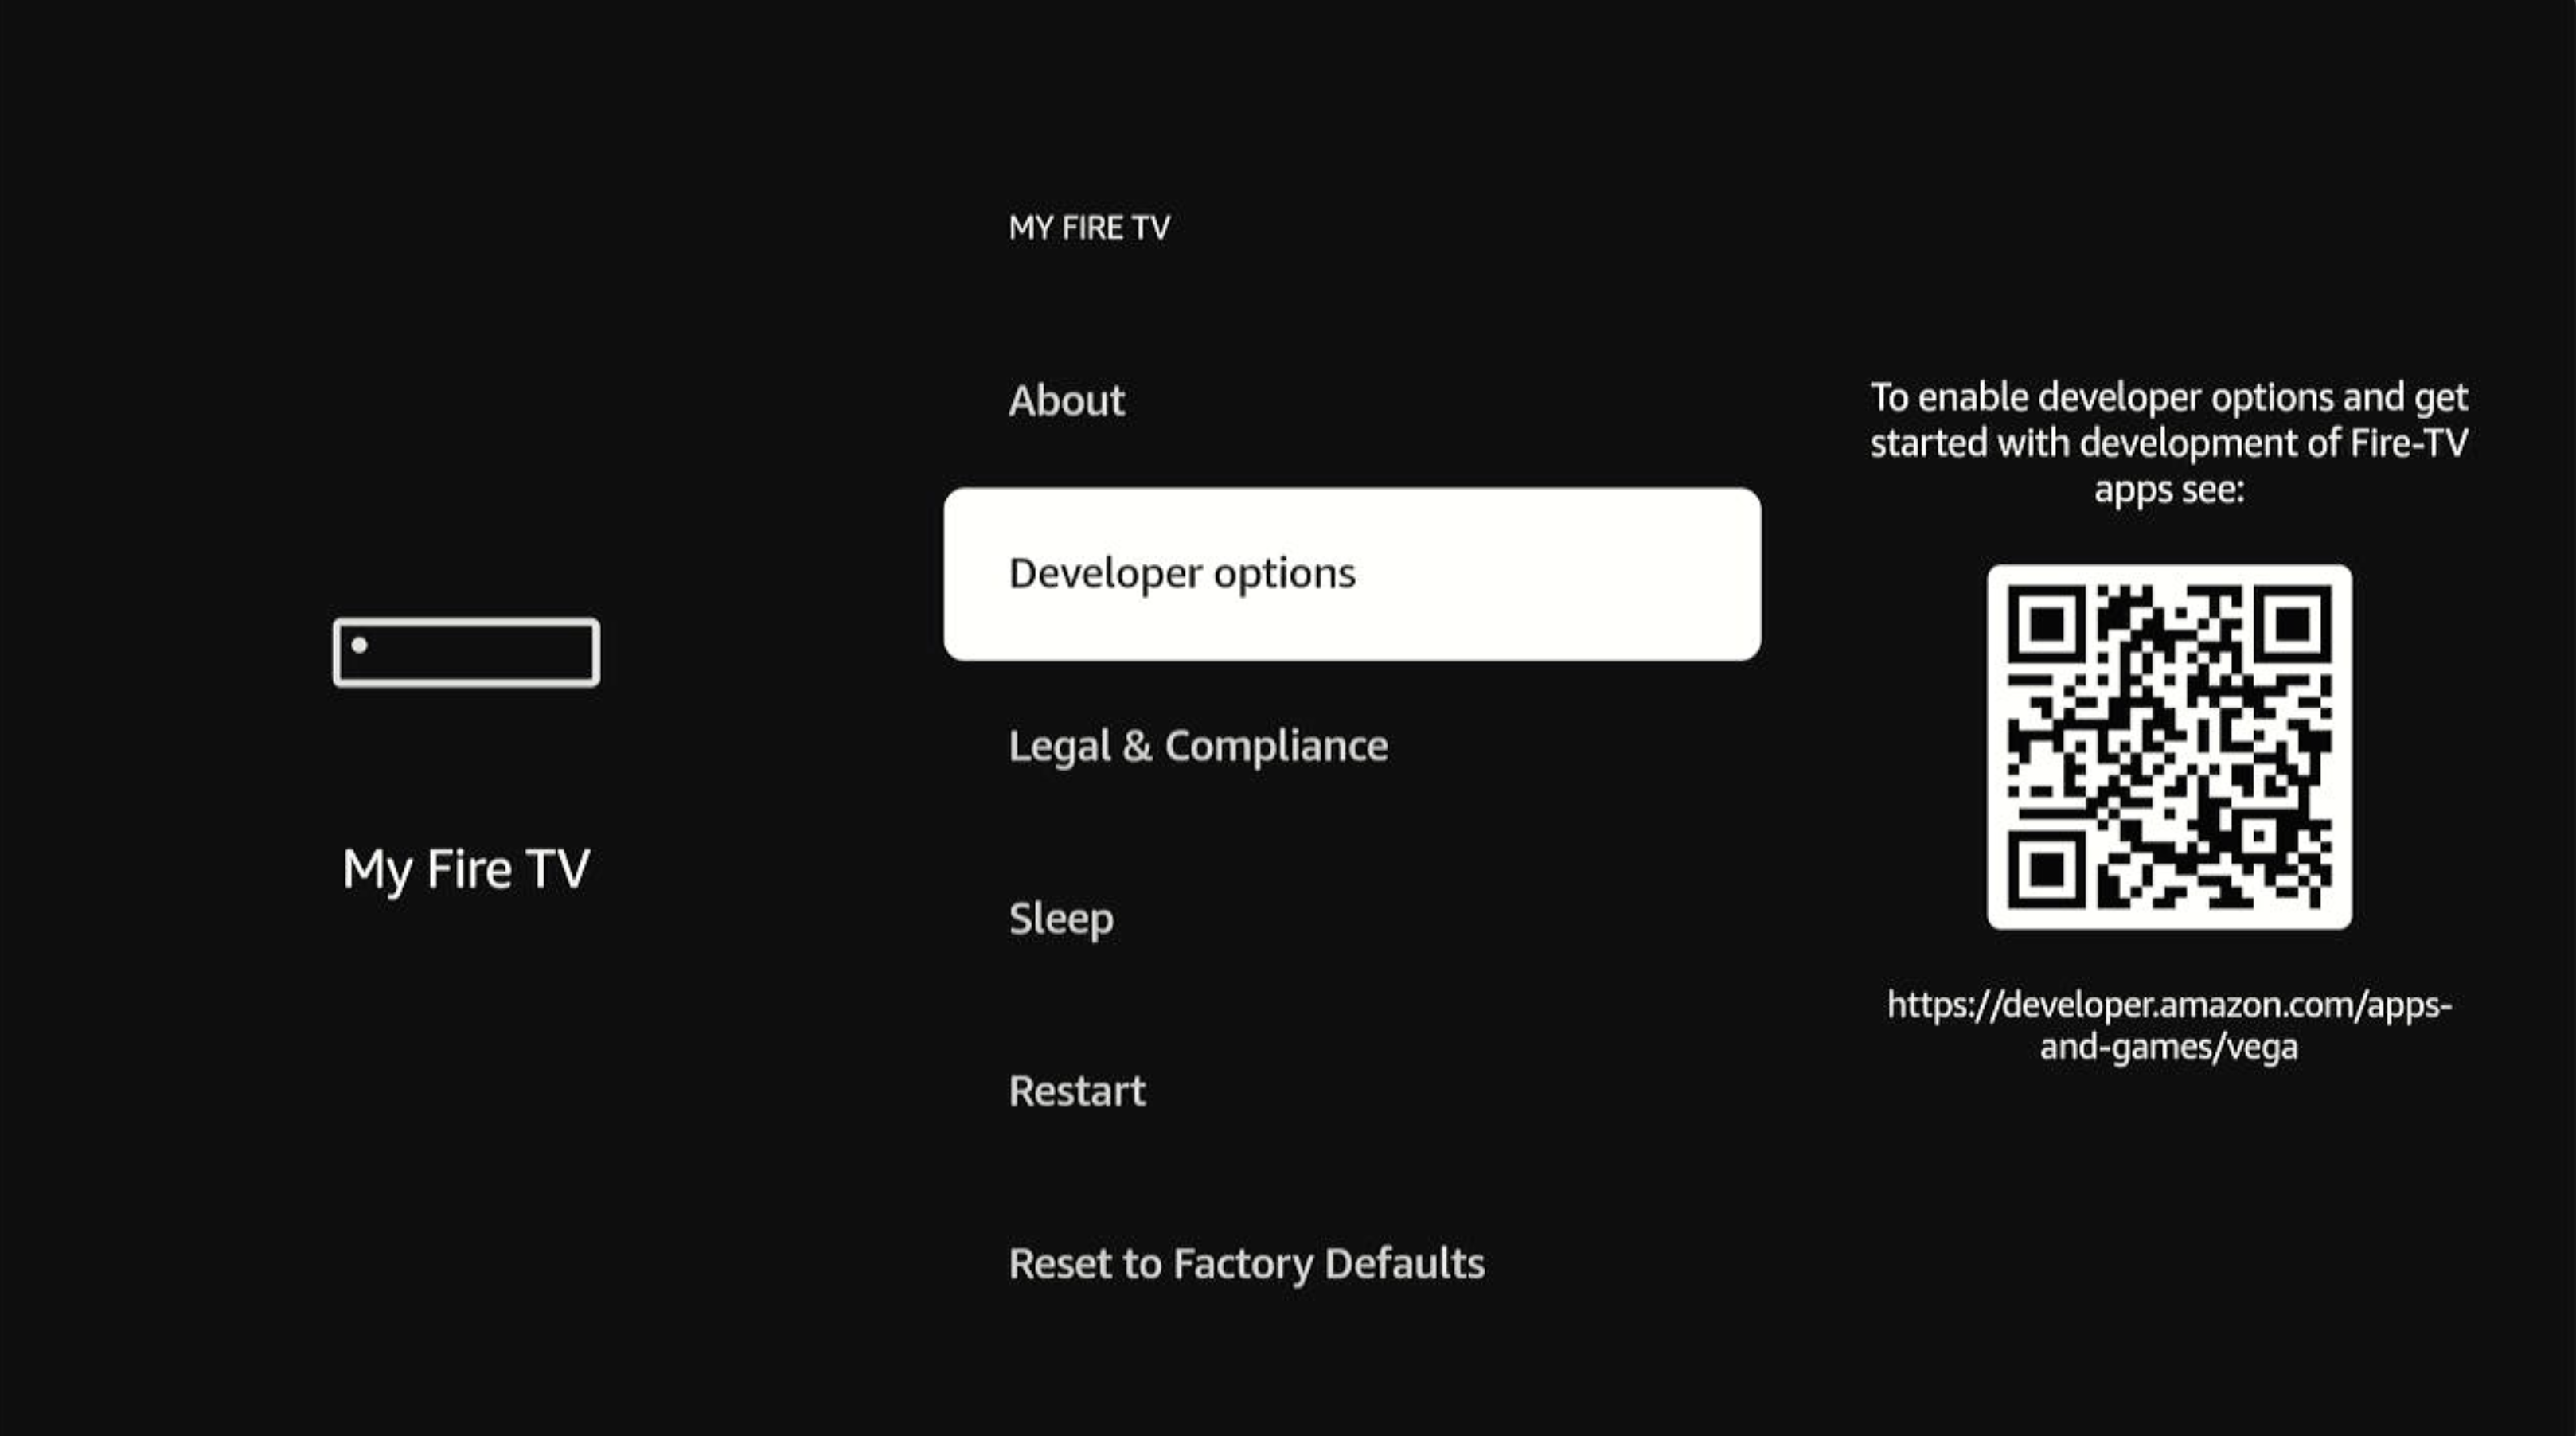
Press the Back button to return to My Fire TV.
Developer options appears in the list.
-
Select Developer options.
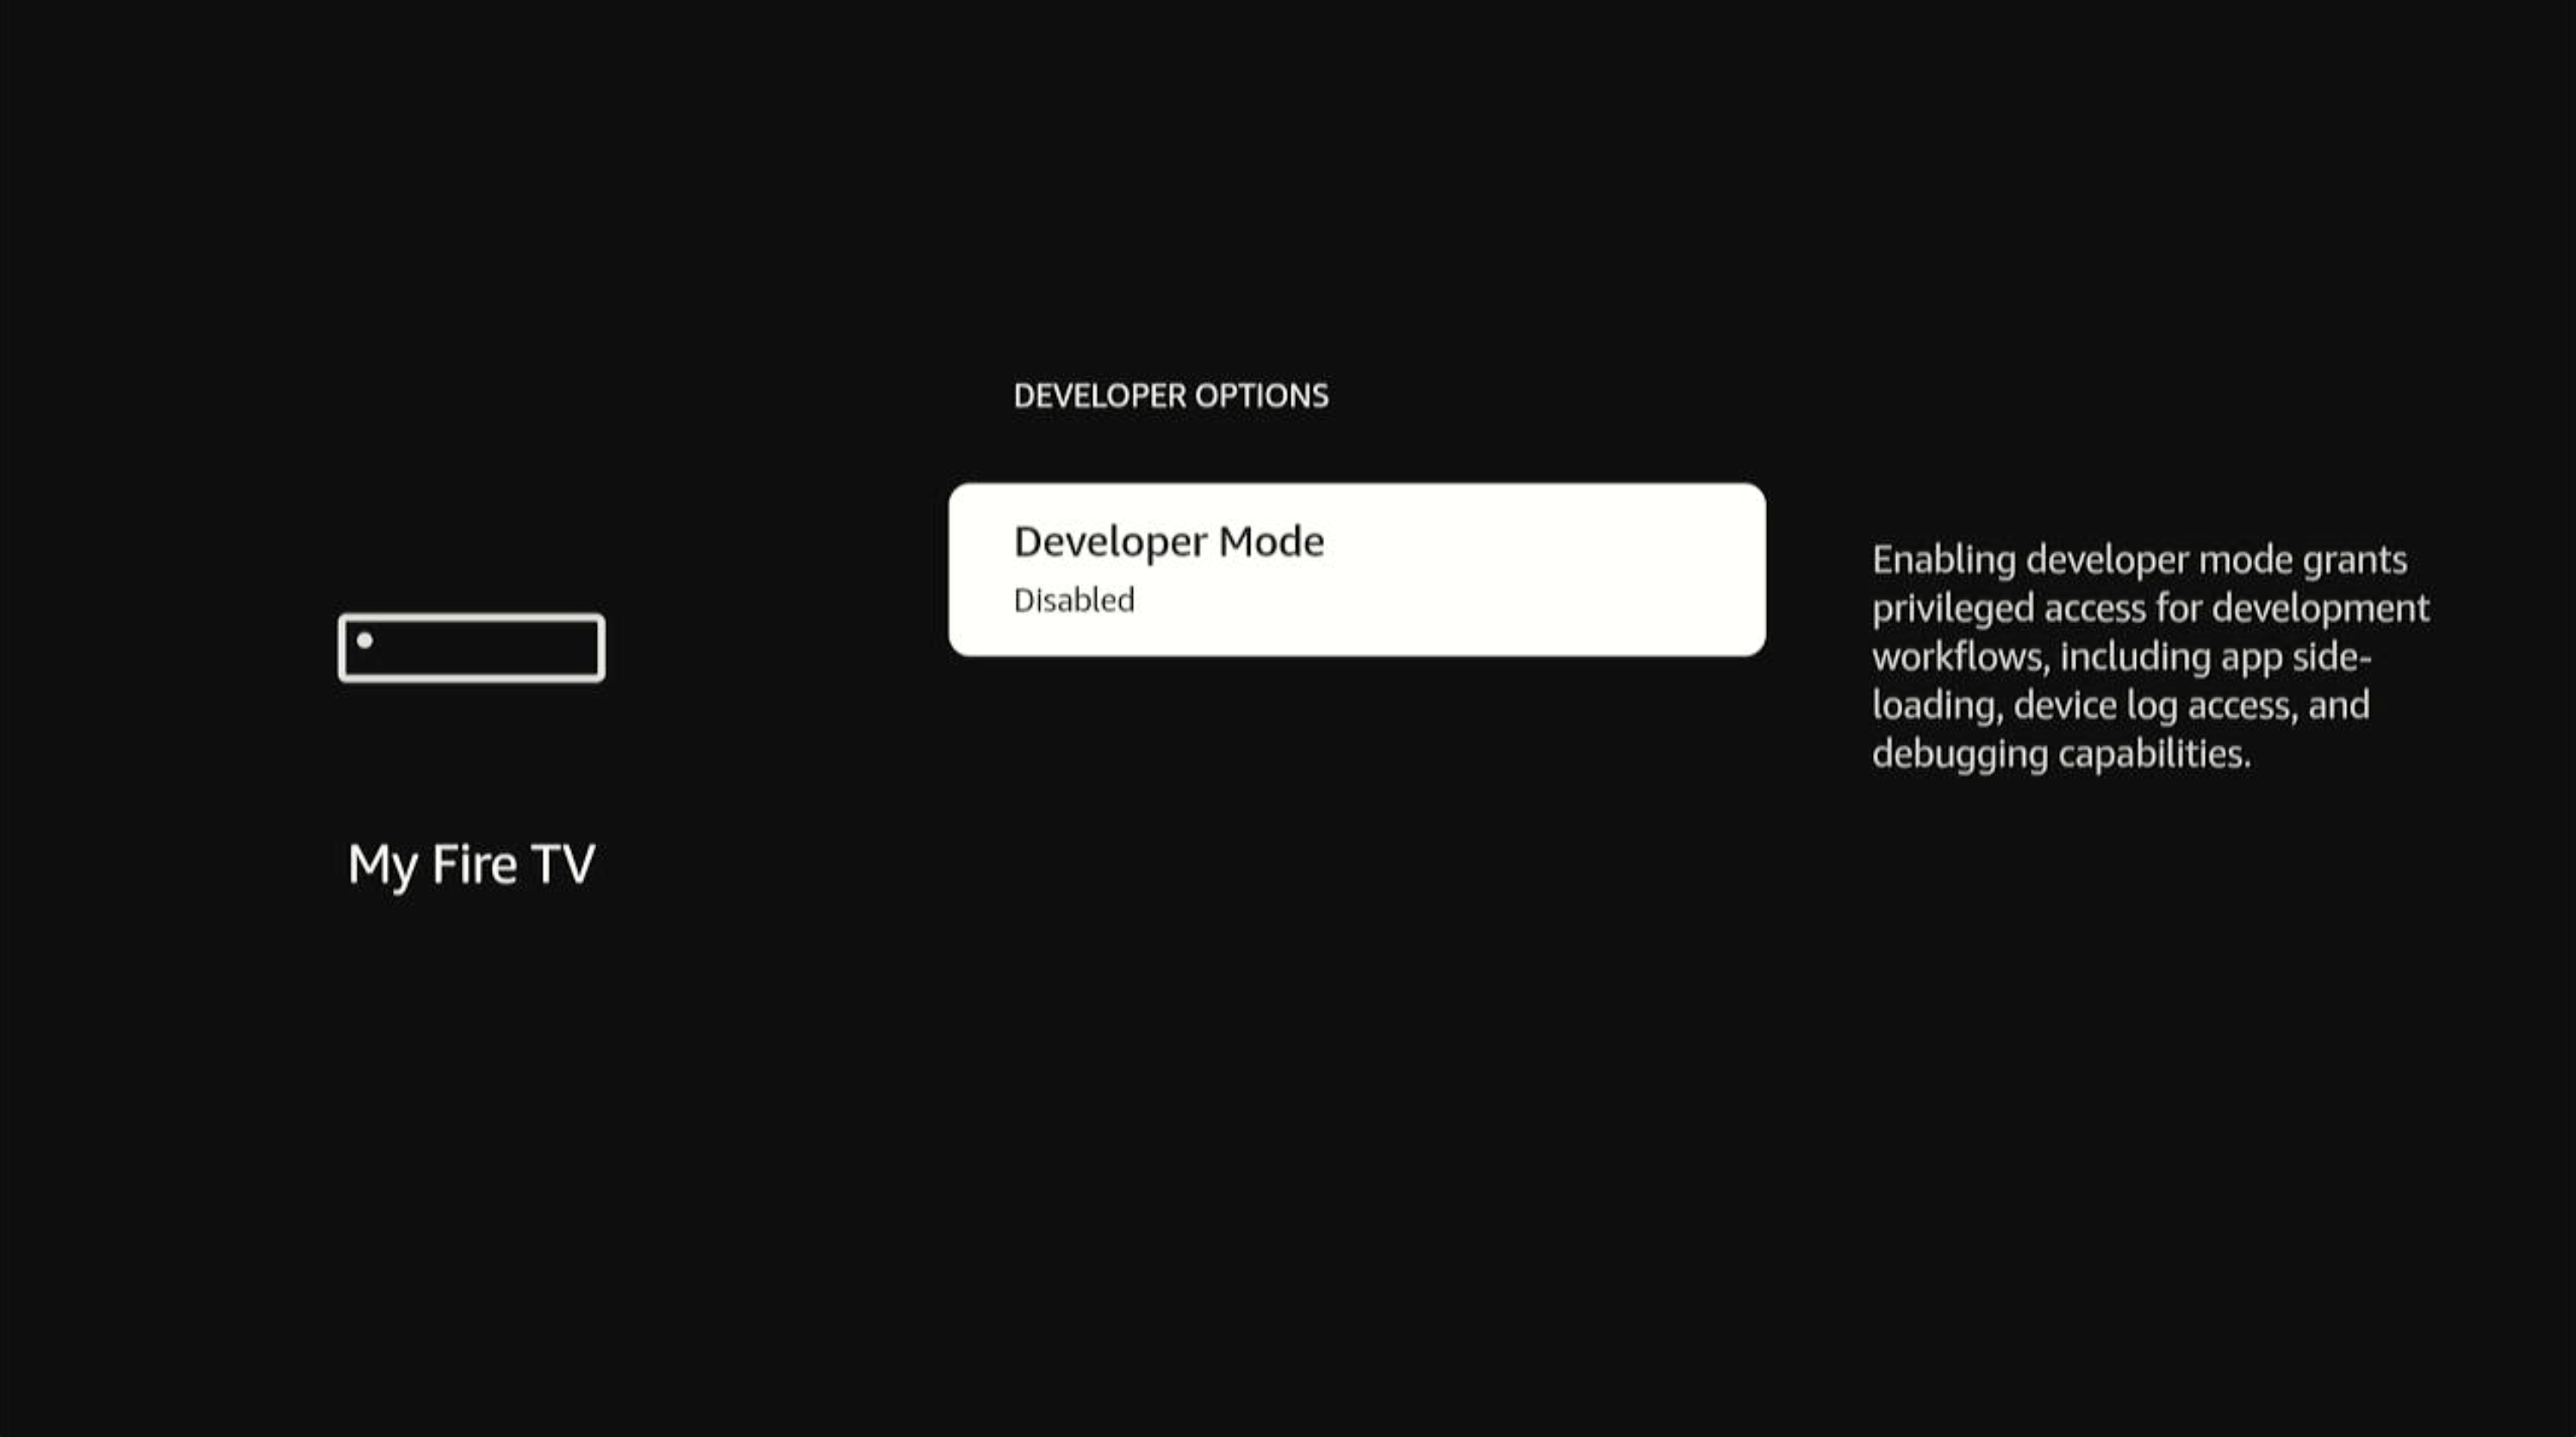
Developer Mode (disabled by default) appears in the menu list.
-
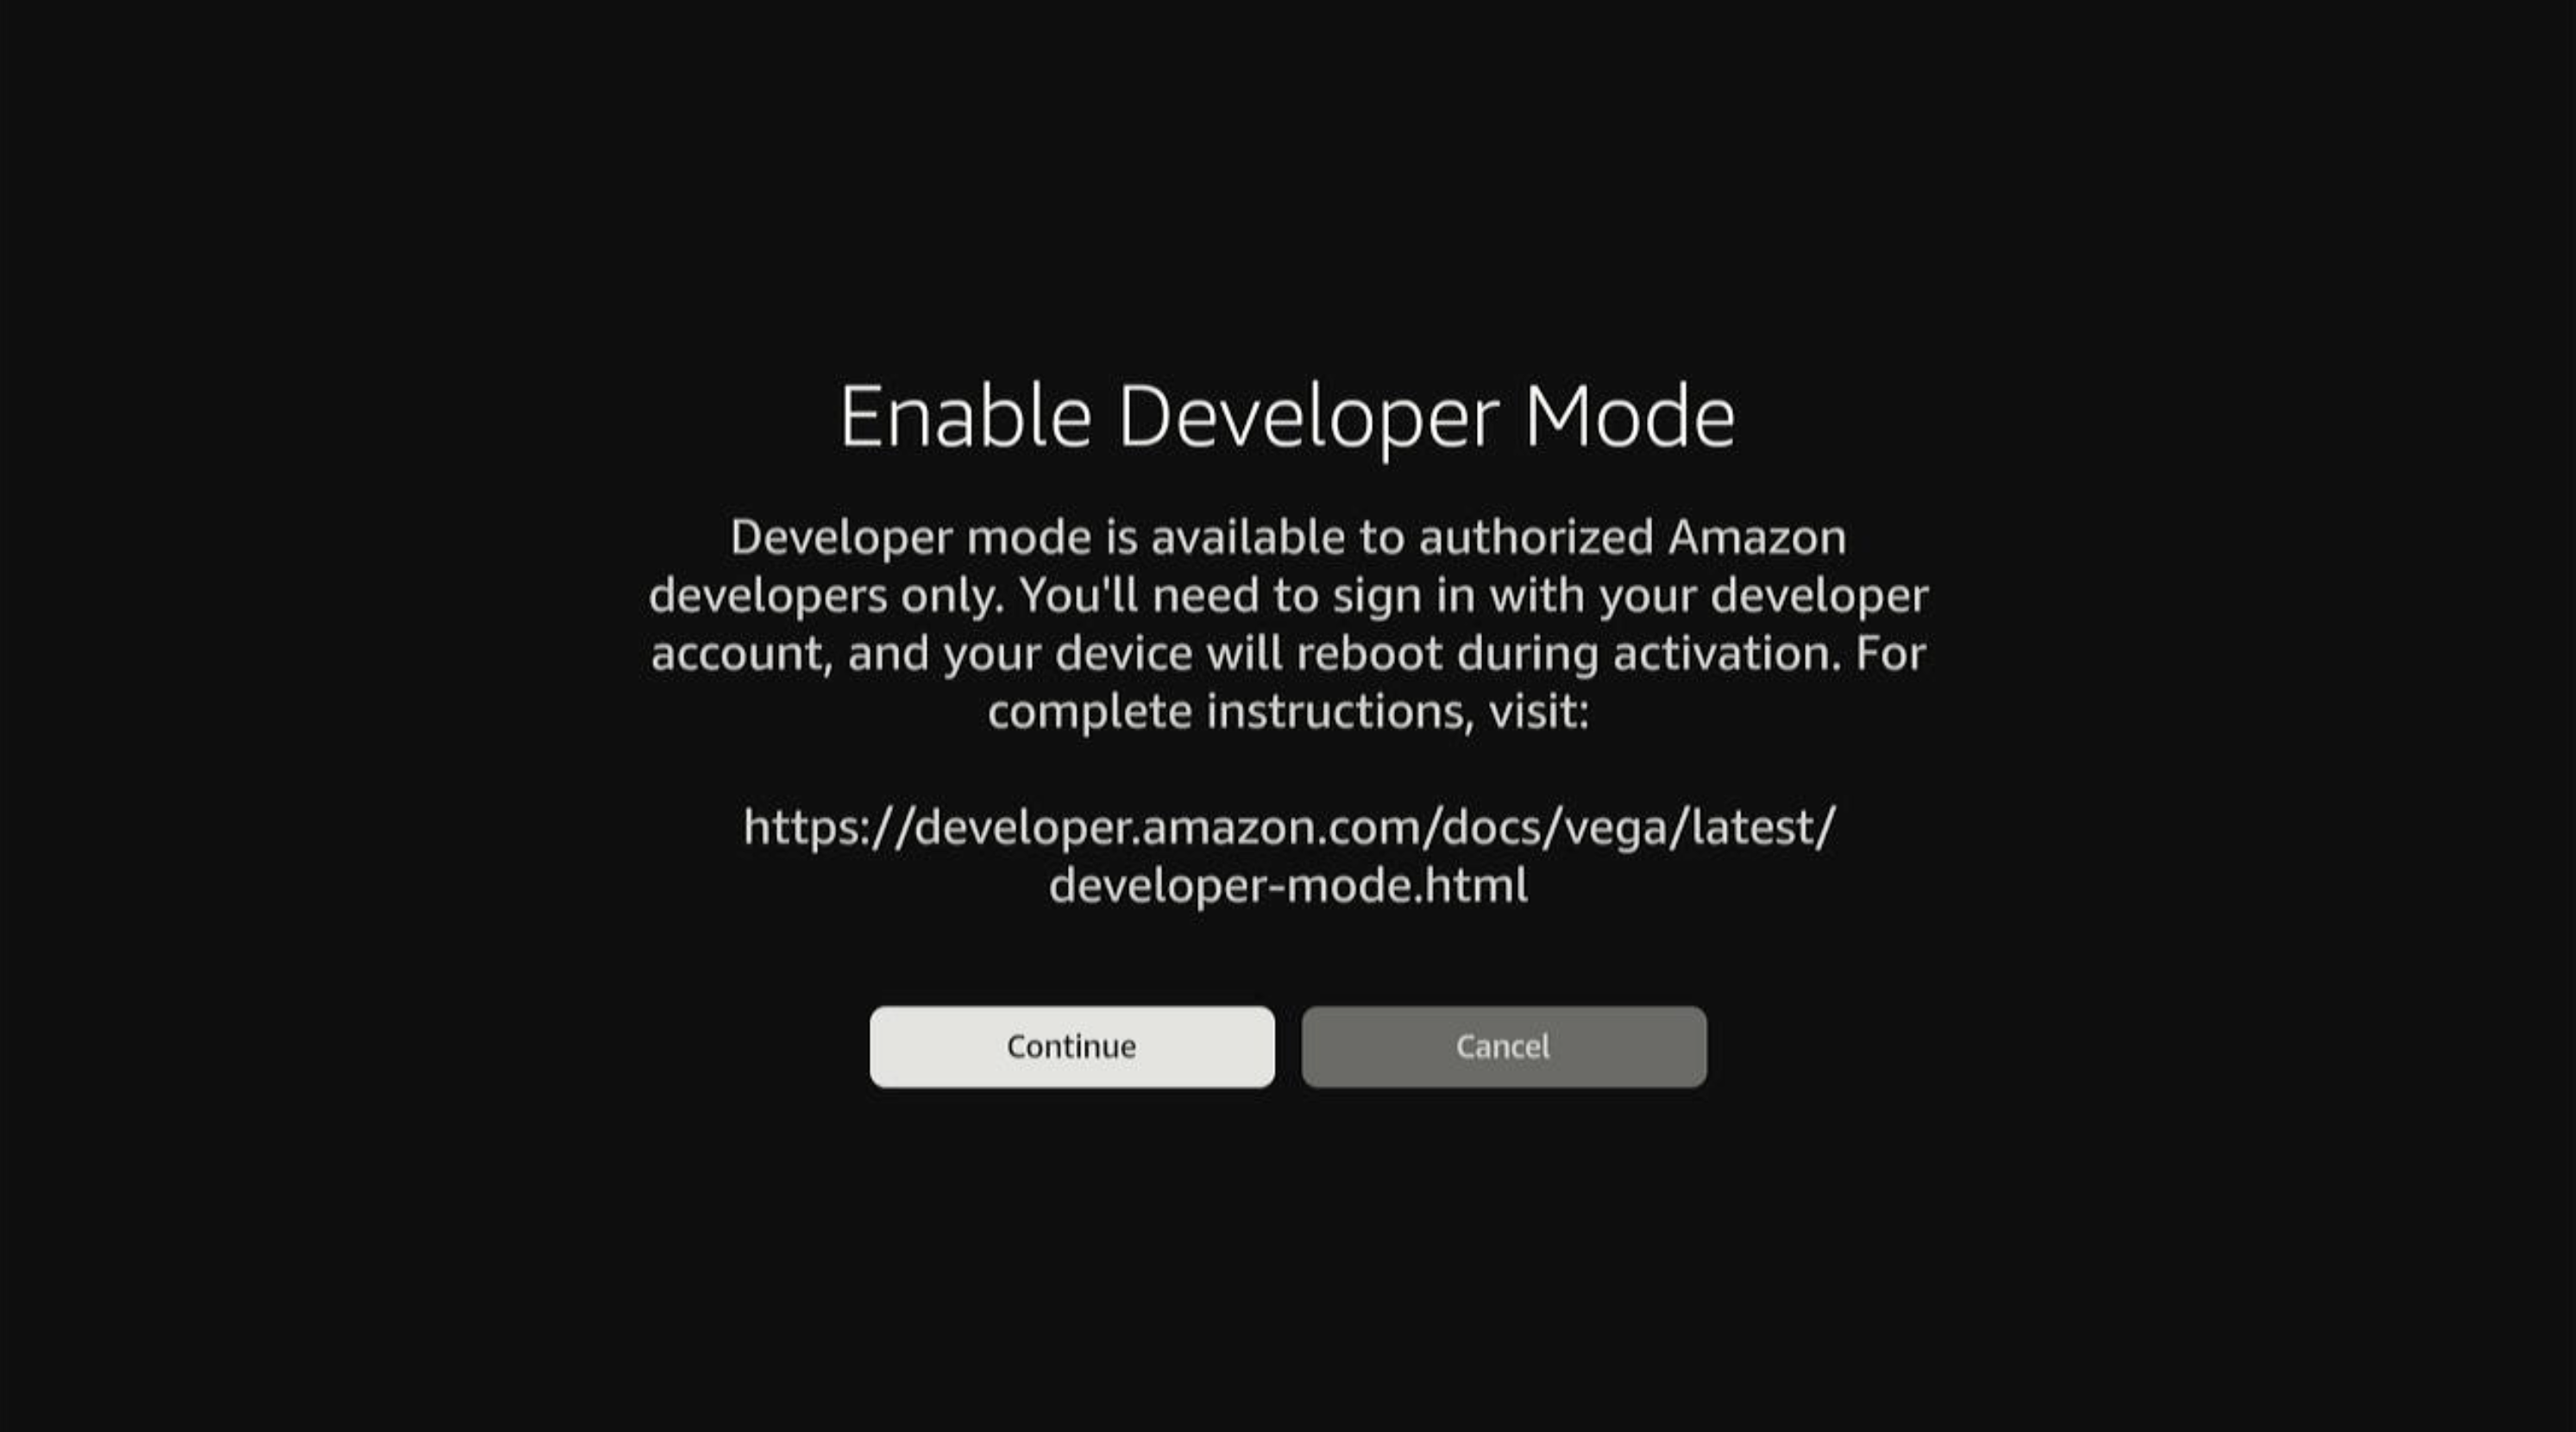
Select Developer Mode to proceed.
-
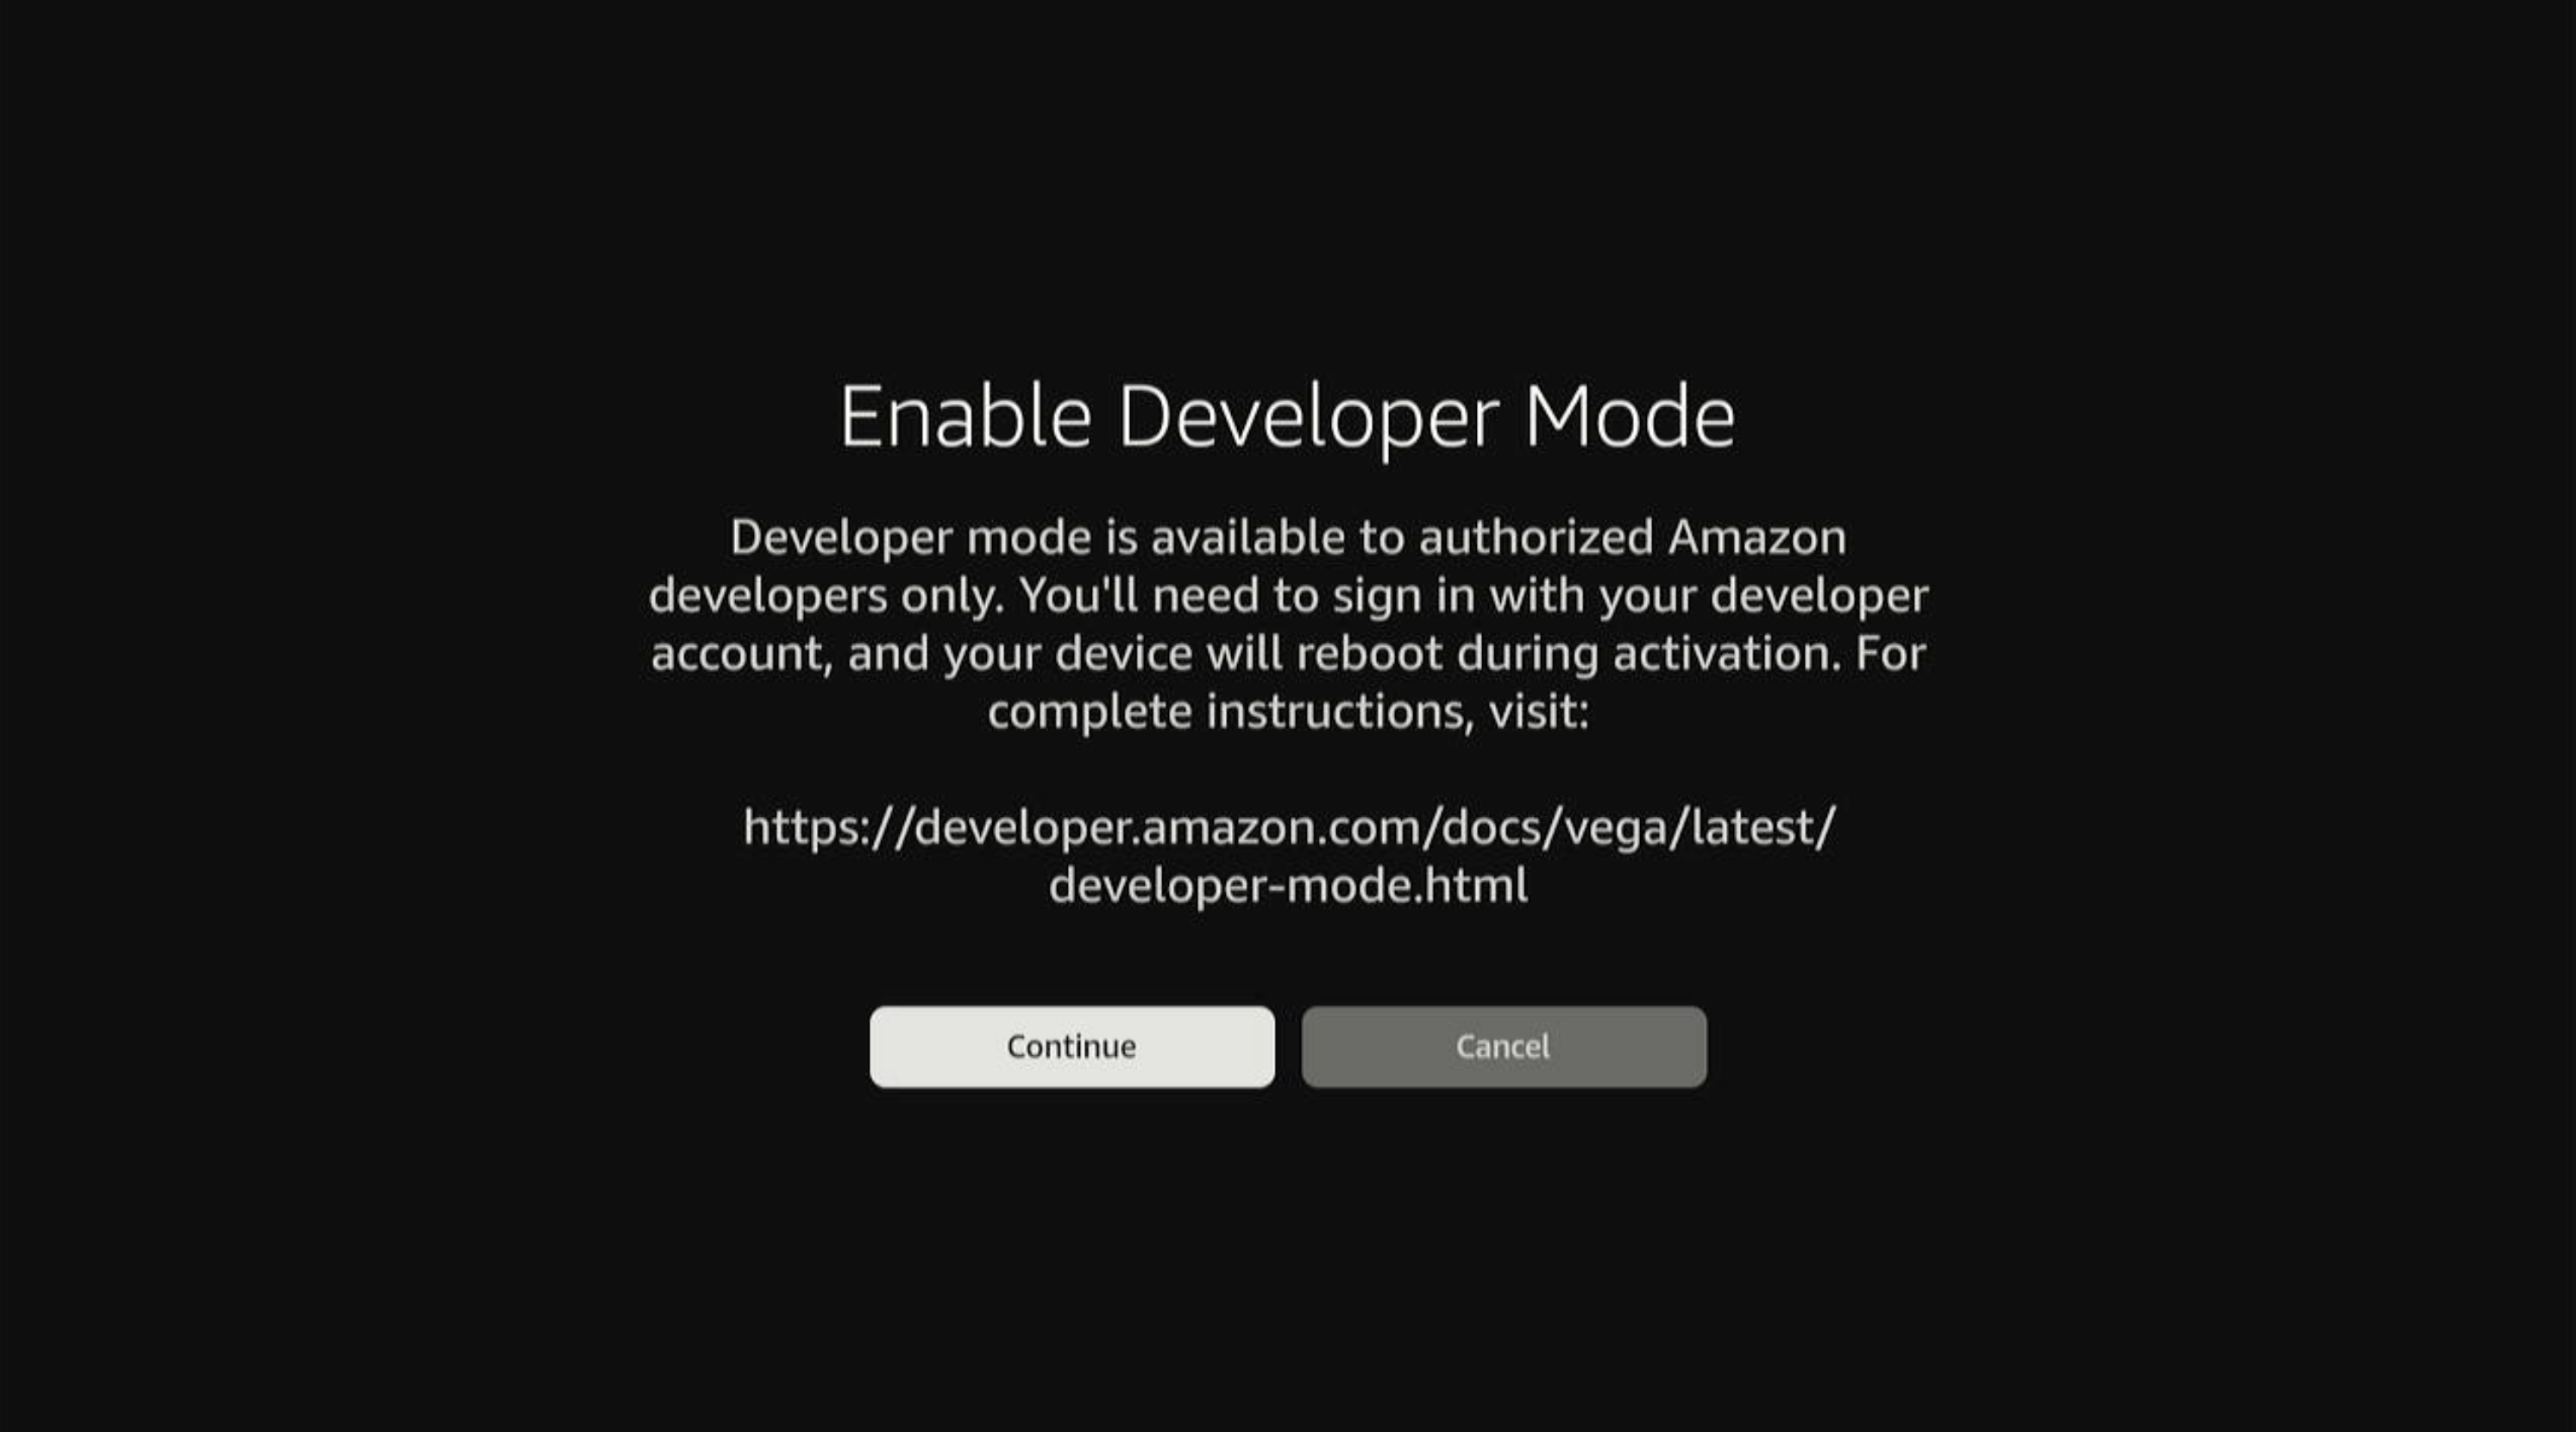
Select Continue to proceed (or Cancel to abort).
If you select Cancel, the dialog closes and you return to the Developer Options screen without changes.
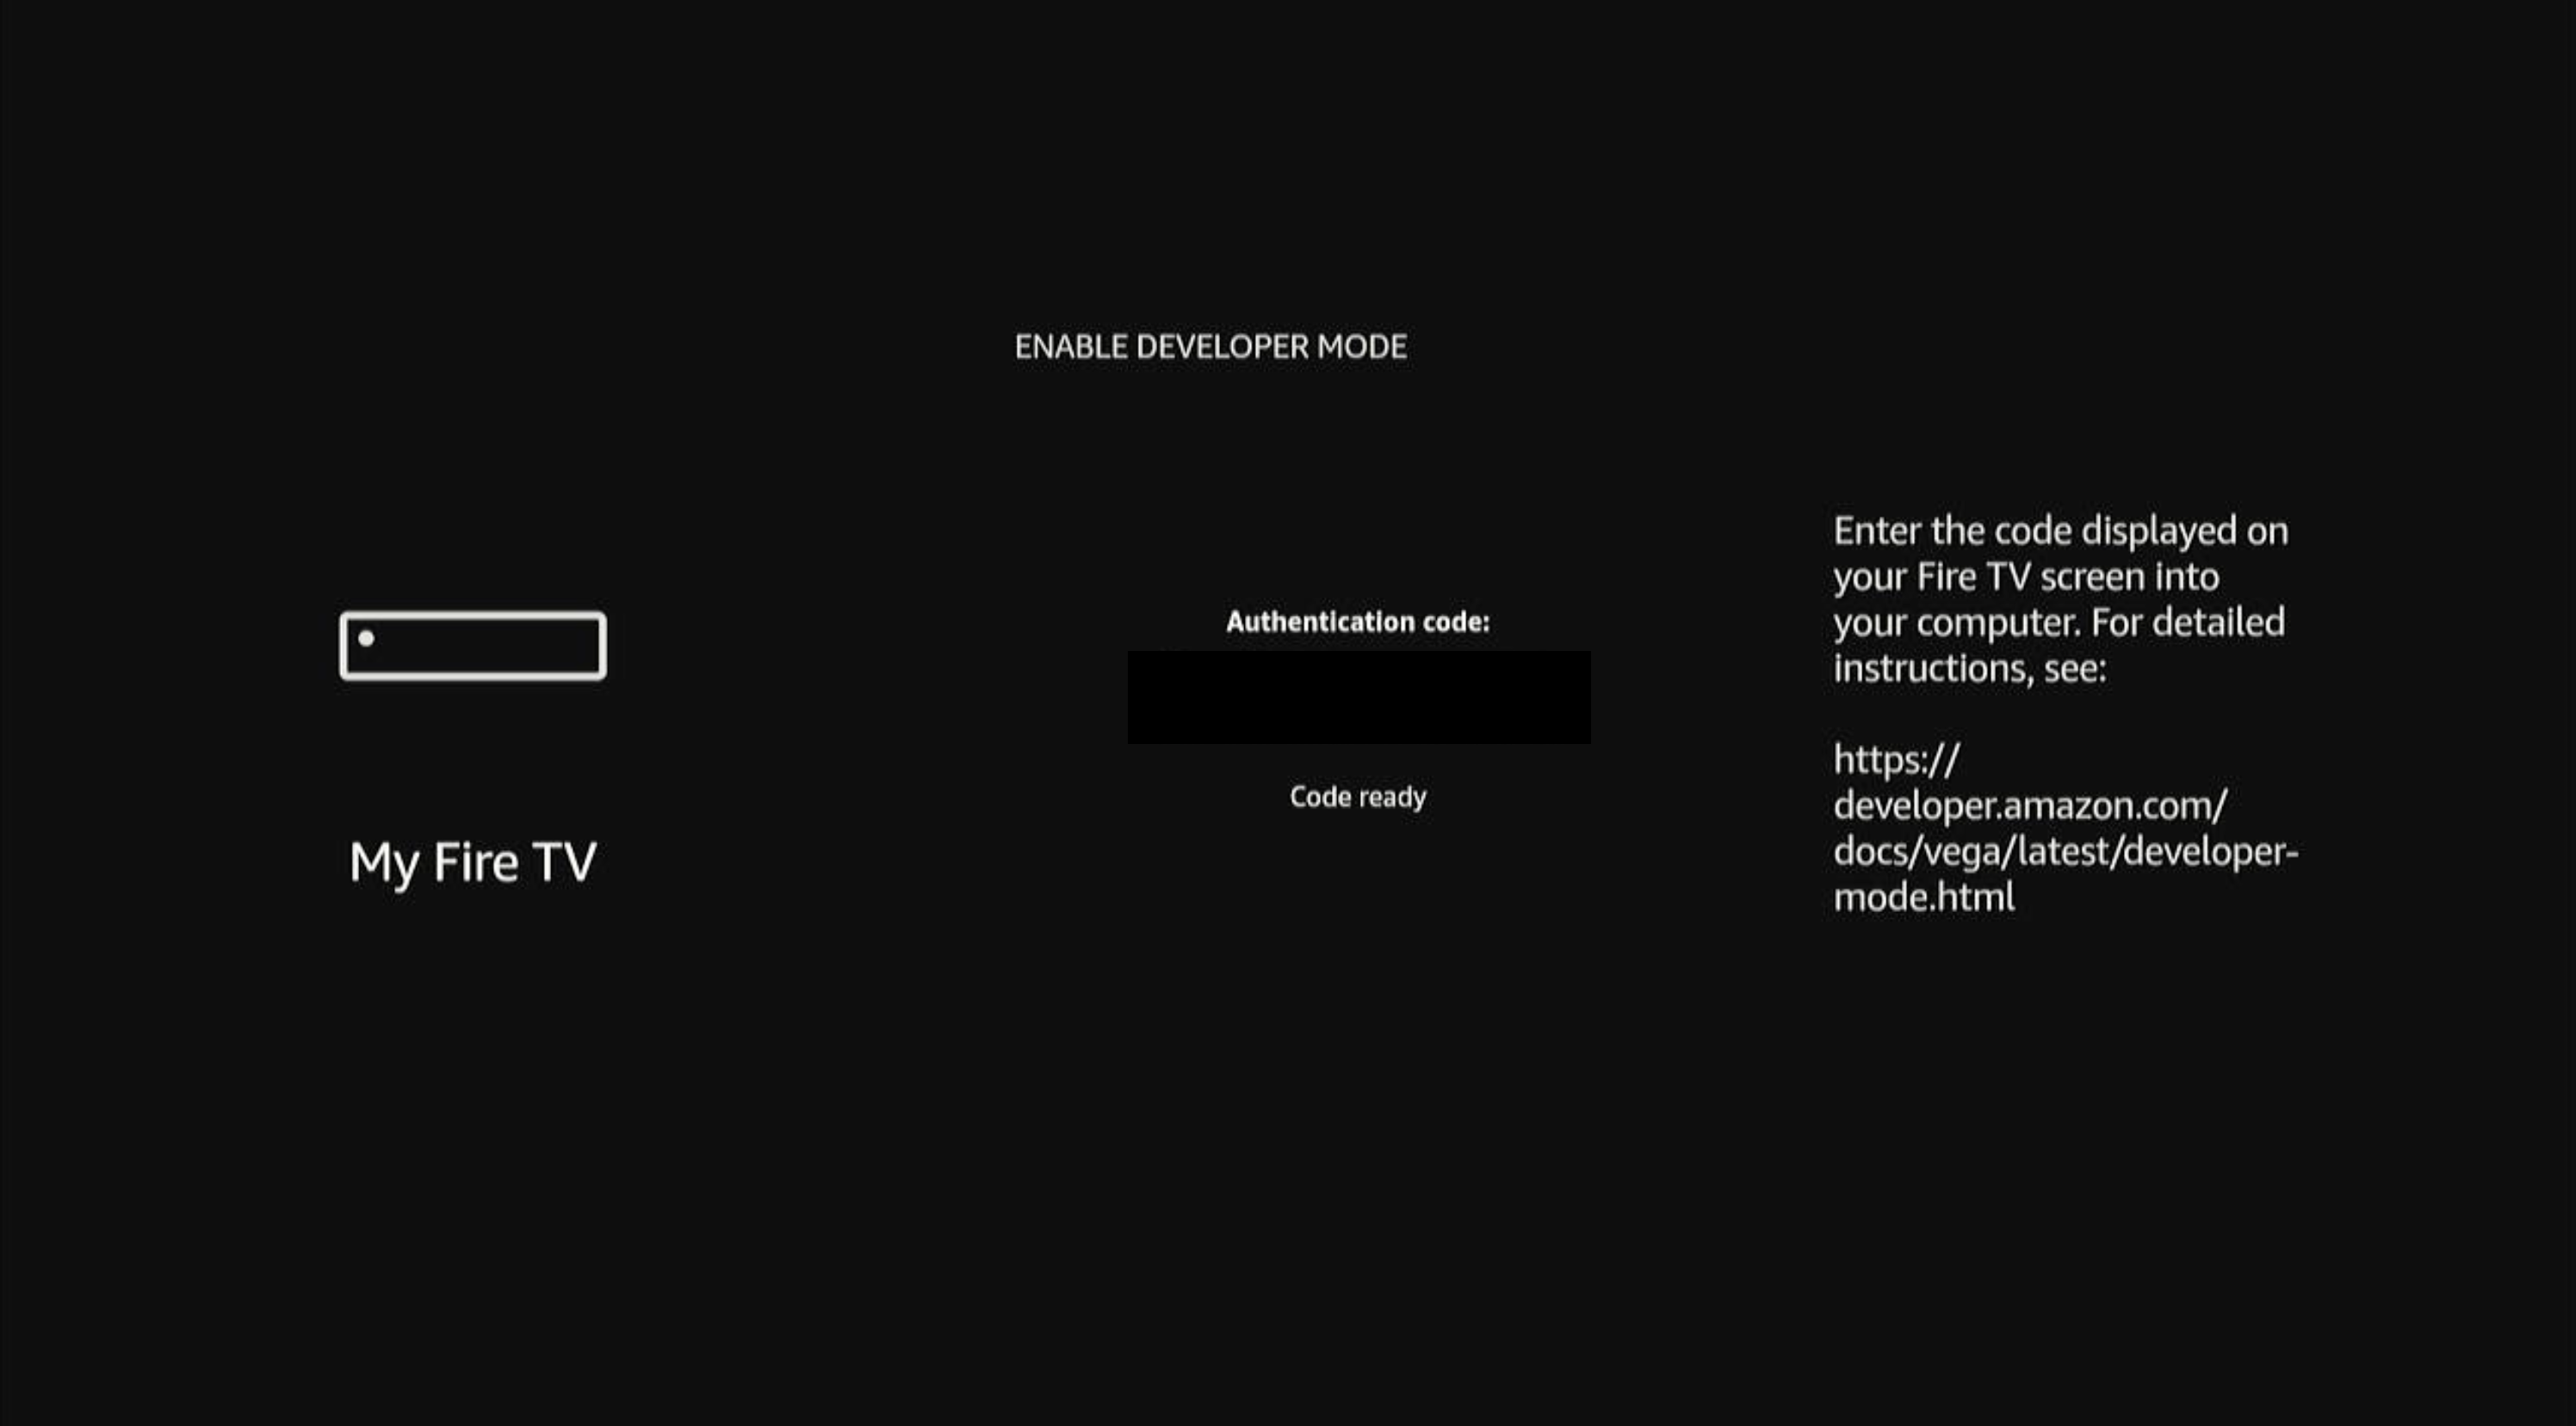
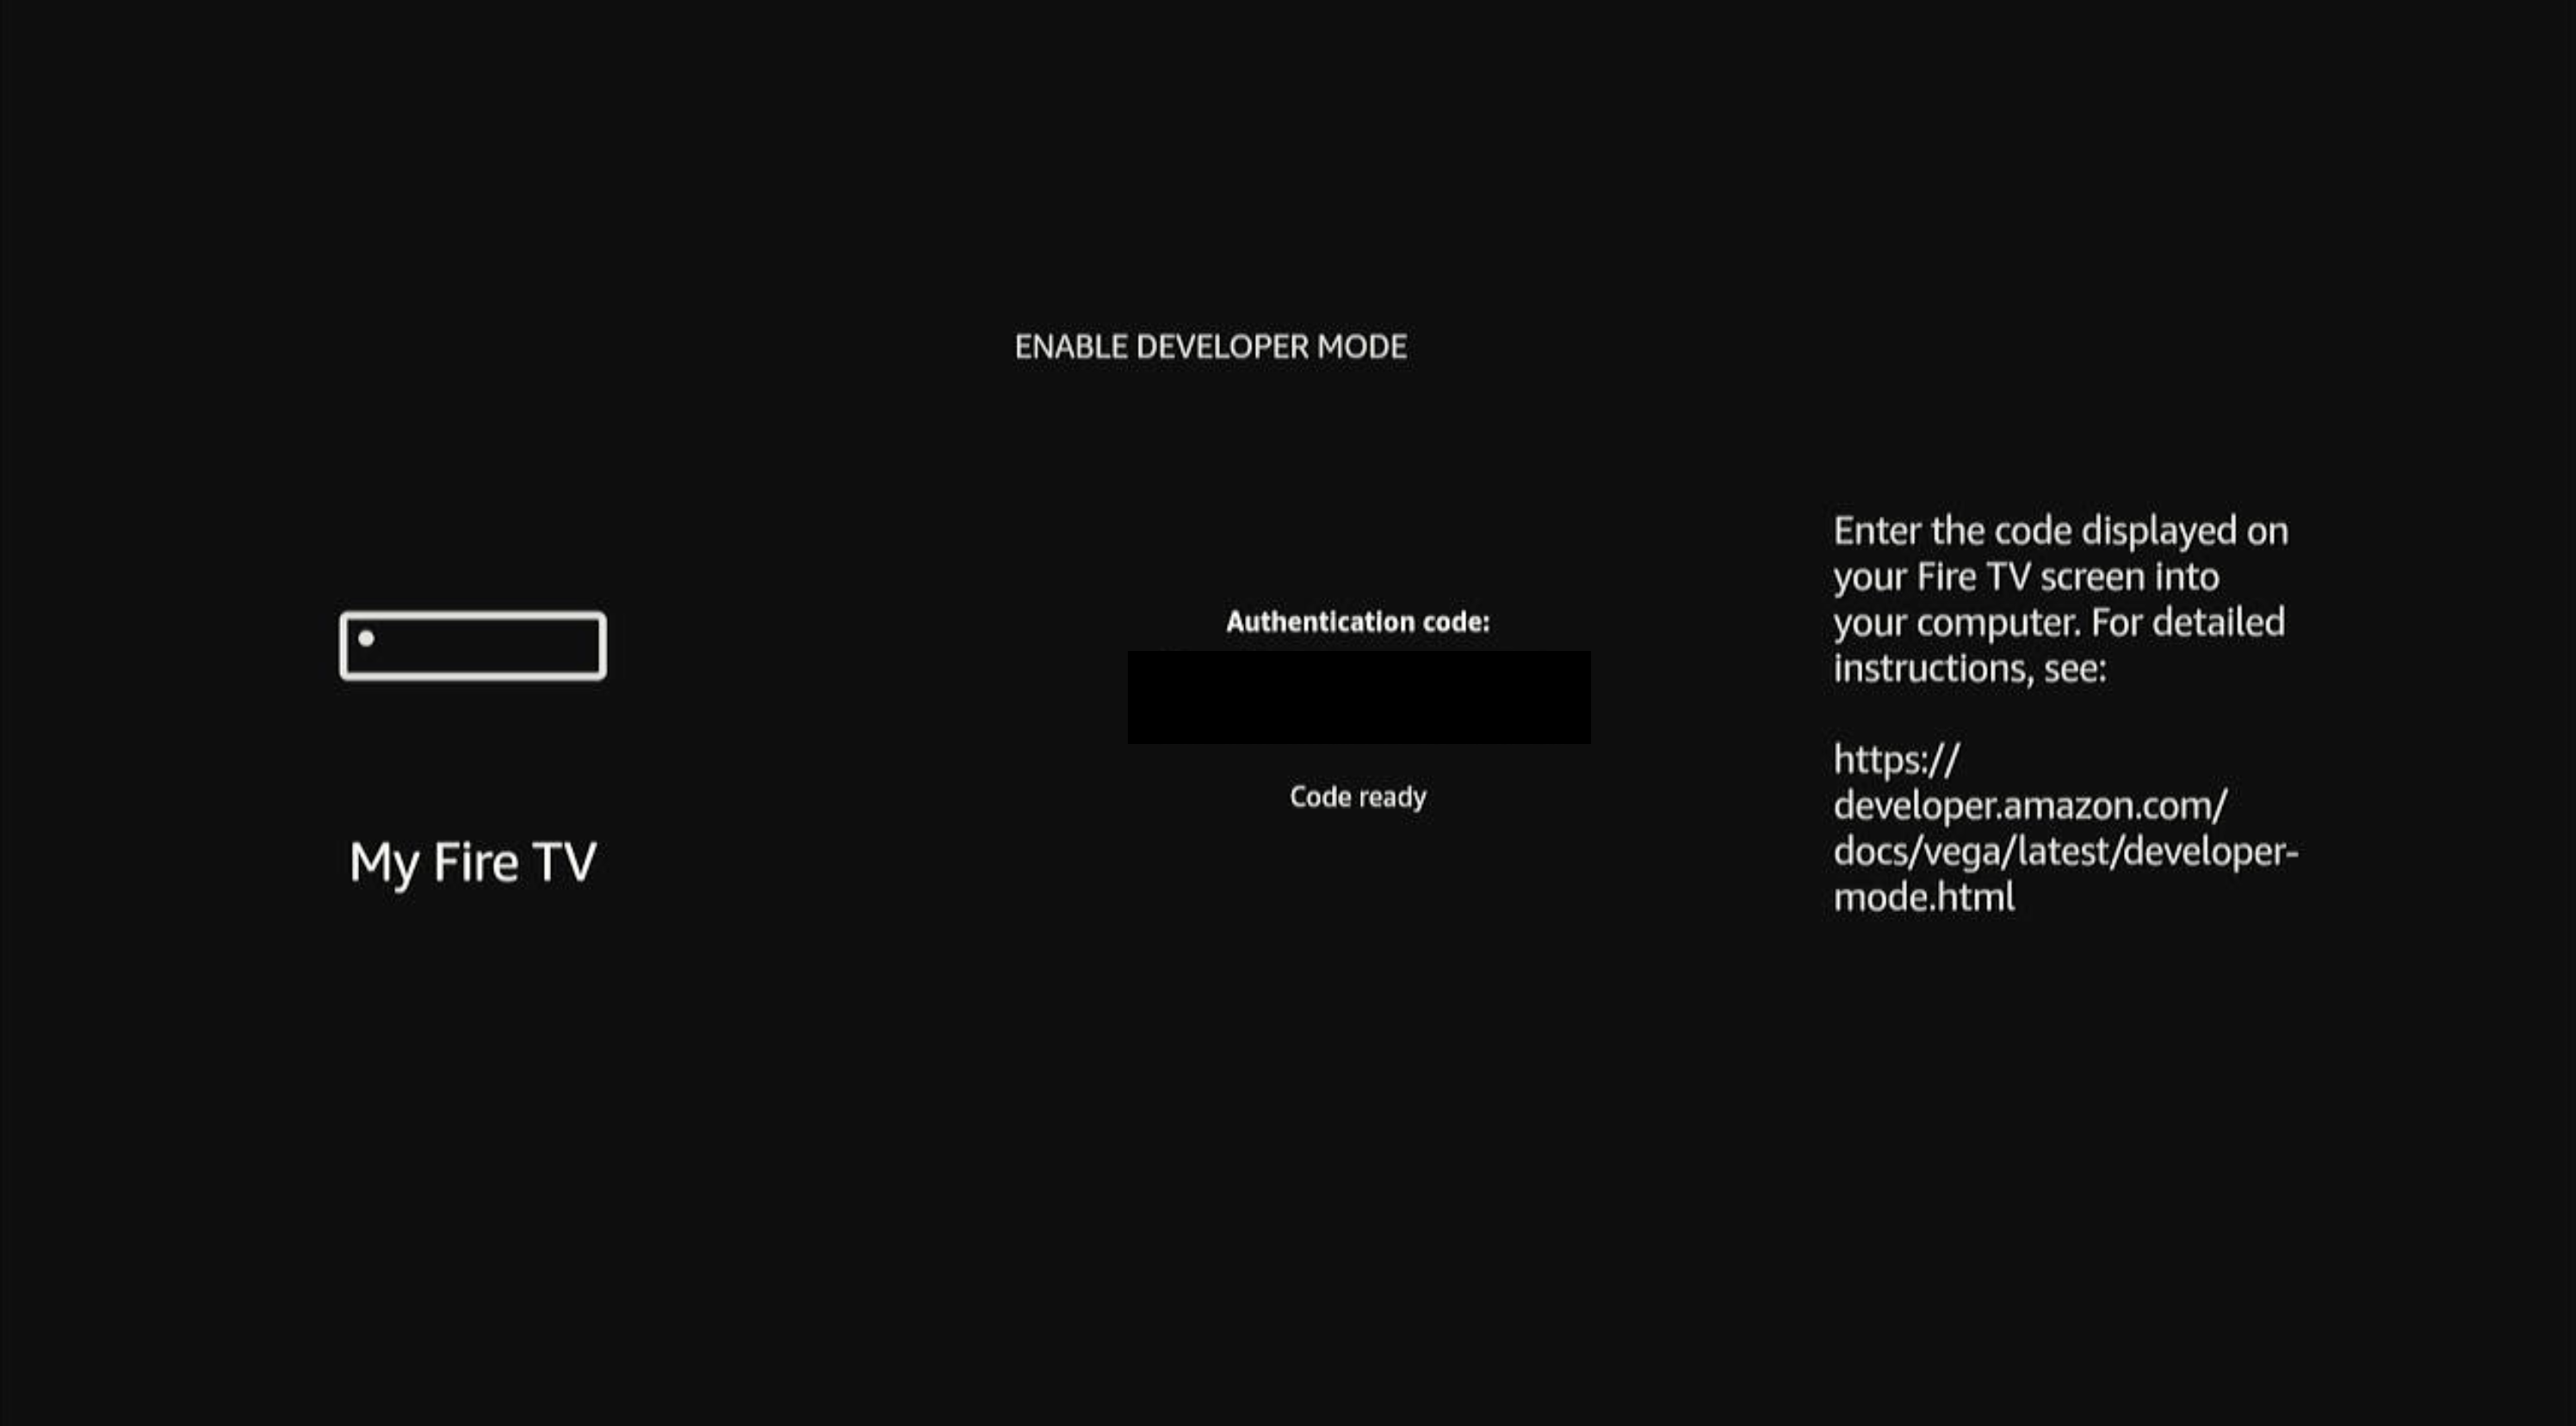
After selecting Continue, the Fire TV screen displays a 6-digit authentication code. You’ll enter this code in #11.
-
To authenticate with your Amazon Developer Account, run the login command:
Follow the instructions from the CLI to complete authentication. The CLI automatically opens your default web browser to the Amazon authentication page. If the browser doesn’t open automatically, navigate to the URL provided in the terminal.
-
Authorize Vega CLI access in your browser.
The Amazon OAuth consent screen displays “Vega Authentication Test would like access to:” along with your basic profile information and name.
a. Review the requested permissions.
b. Select Allow to authorize Vega Authentication Test (or Cancel to deny).
If you select Cancel, the CLI denies authorization and displays an authentication error. Re-run
vega devmode loginto try again. After selecting Allow, a confirmation page appears with a checkmark icon and the message “Device connected to your account.” You can close this page. Return to your terminal. The CLI displays: -
Enable the device using the 6-digit code displayed on your Fire TV screen:
If your Amazon Developer account has only one vendor, the CLI displays:If your account has multiple vendors, the CLI prompts you to select one:Enter the number corresponding to your vendor. The CLI then displays
✓ Device enabled successfully. -
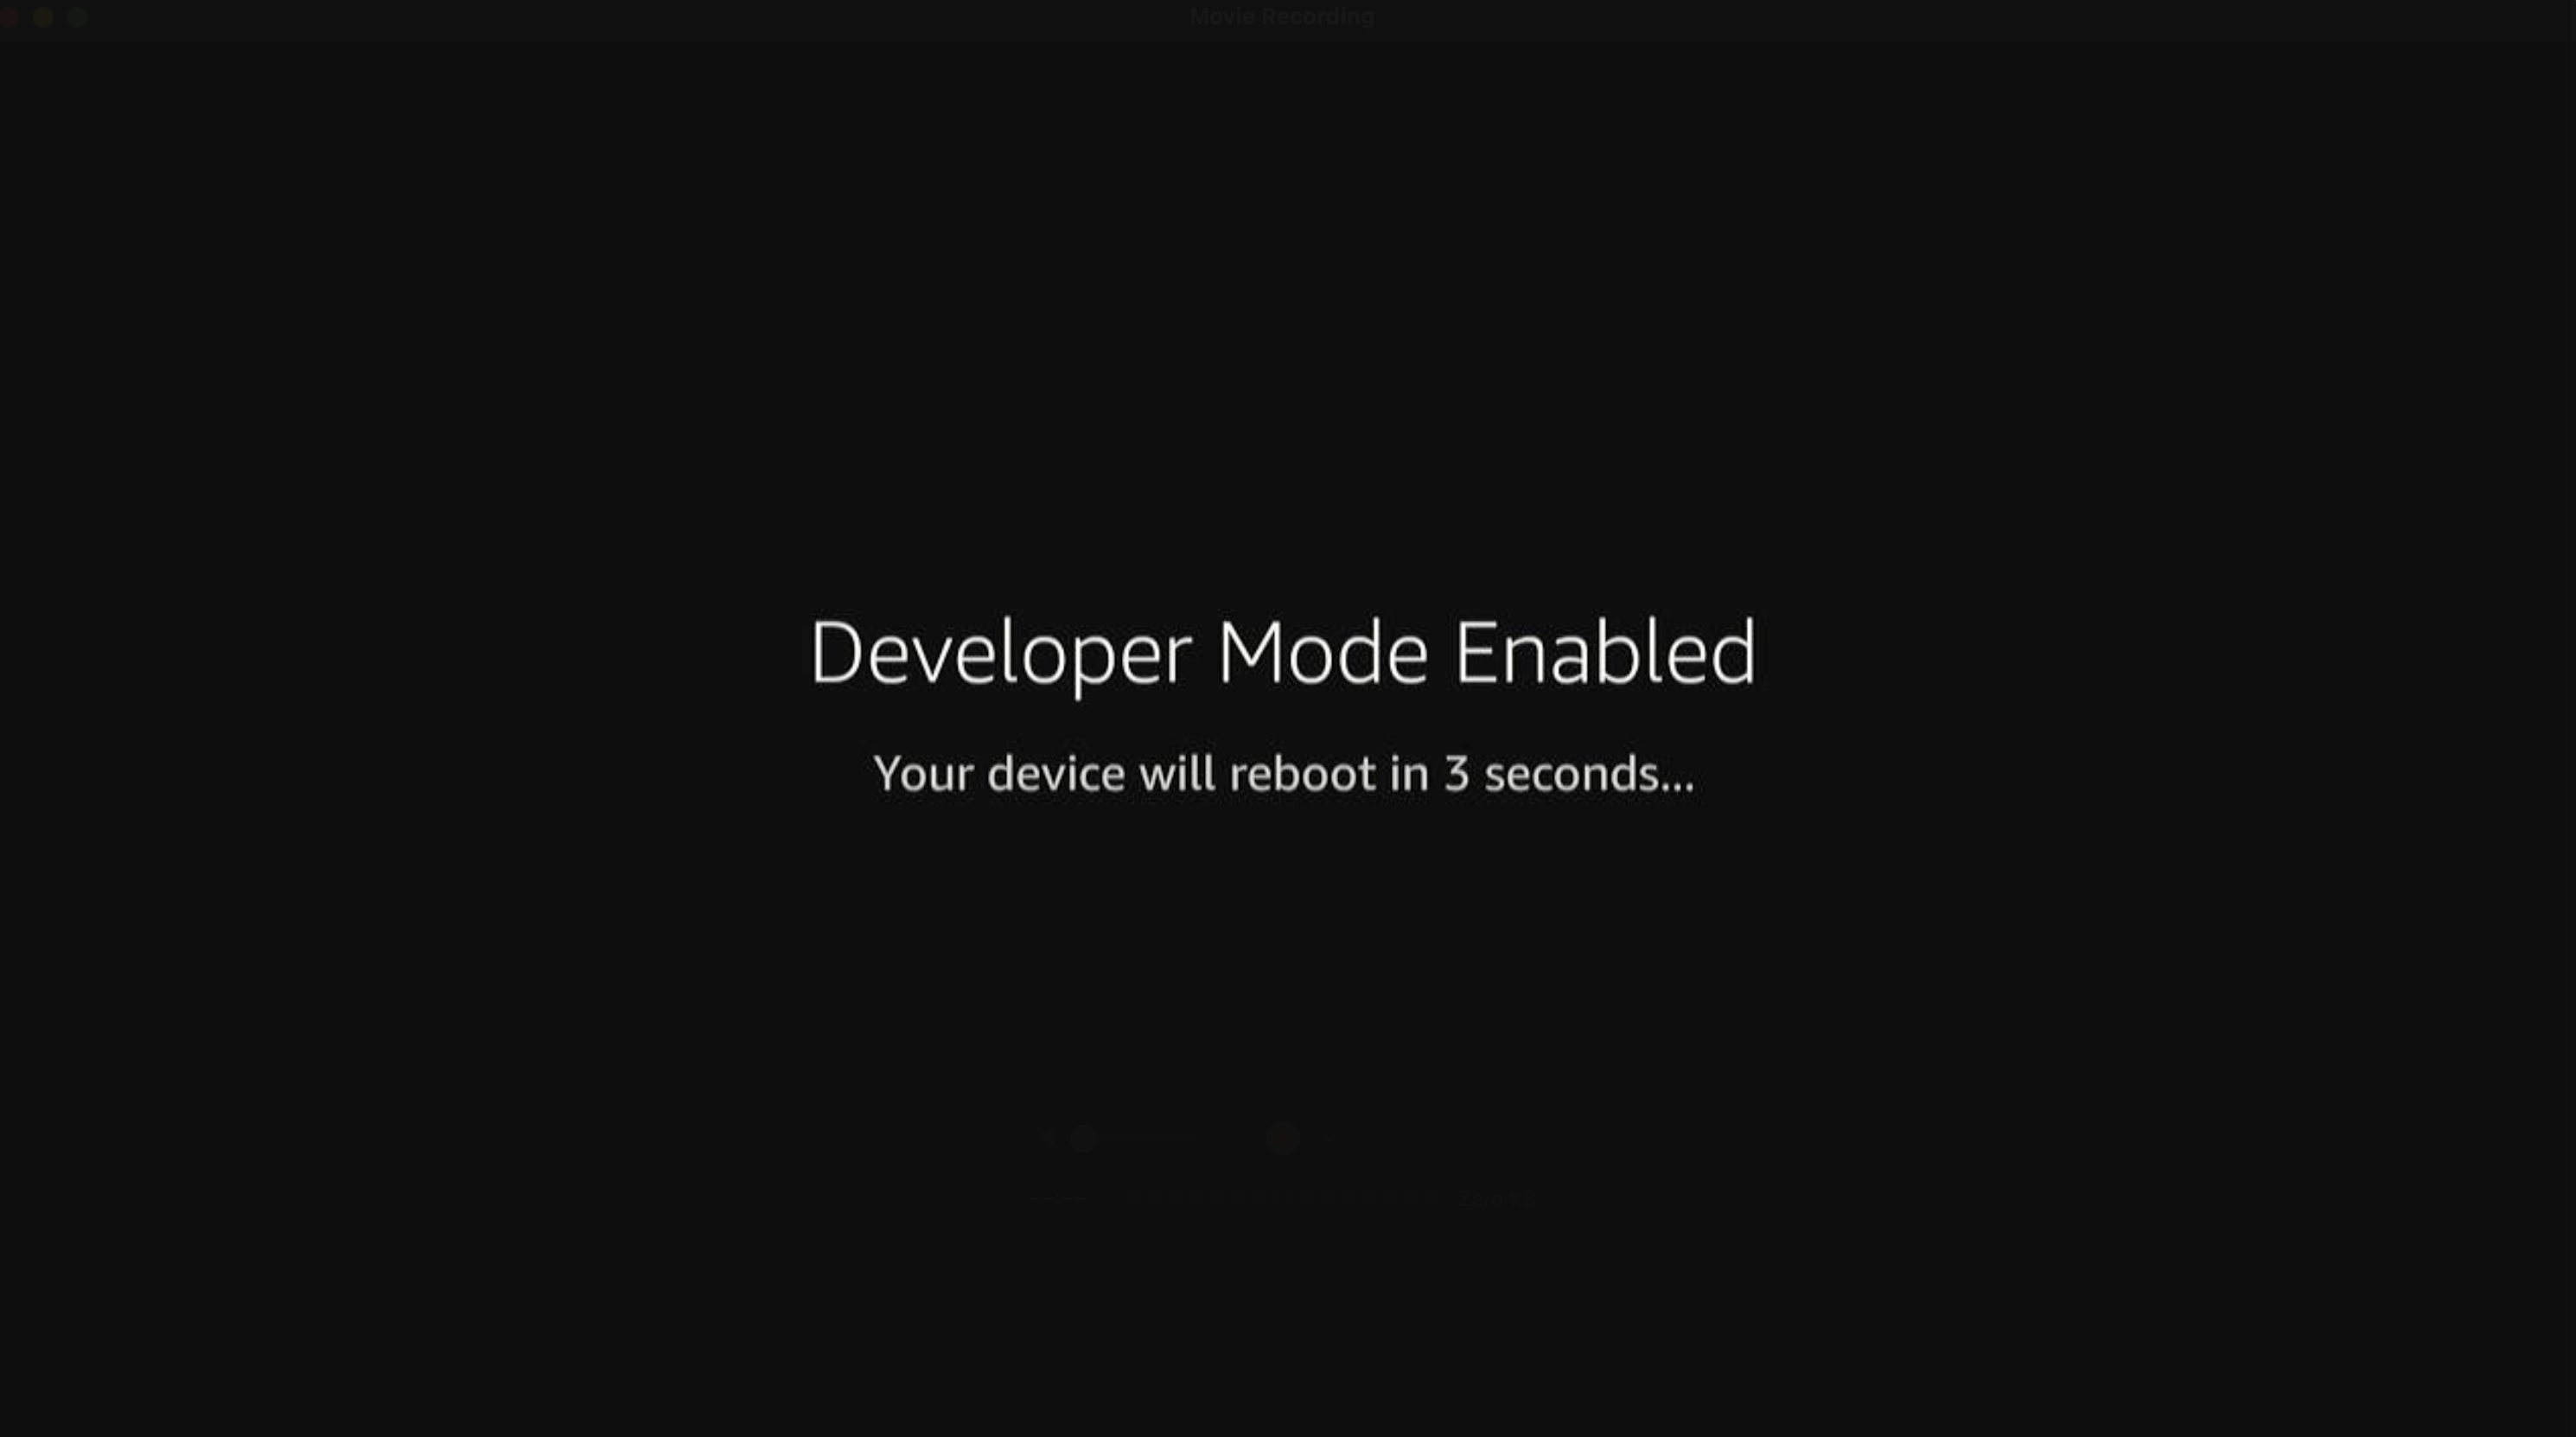
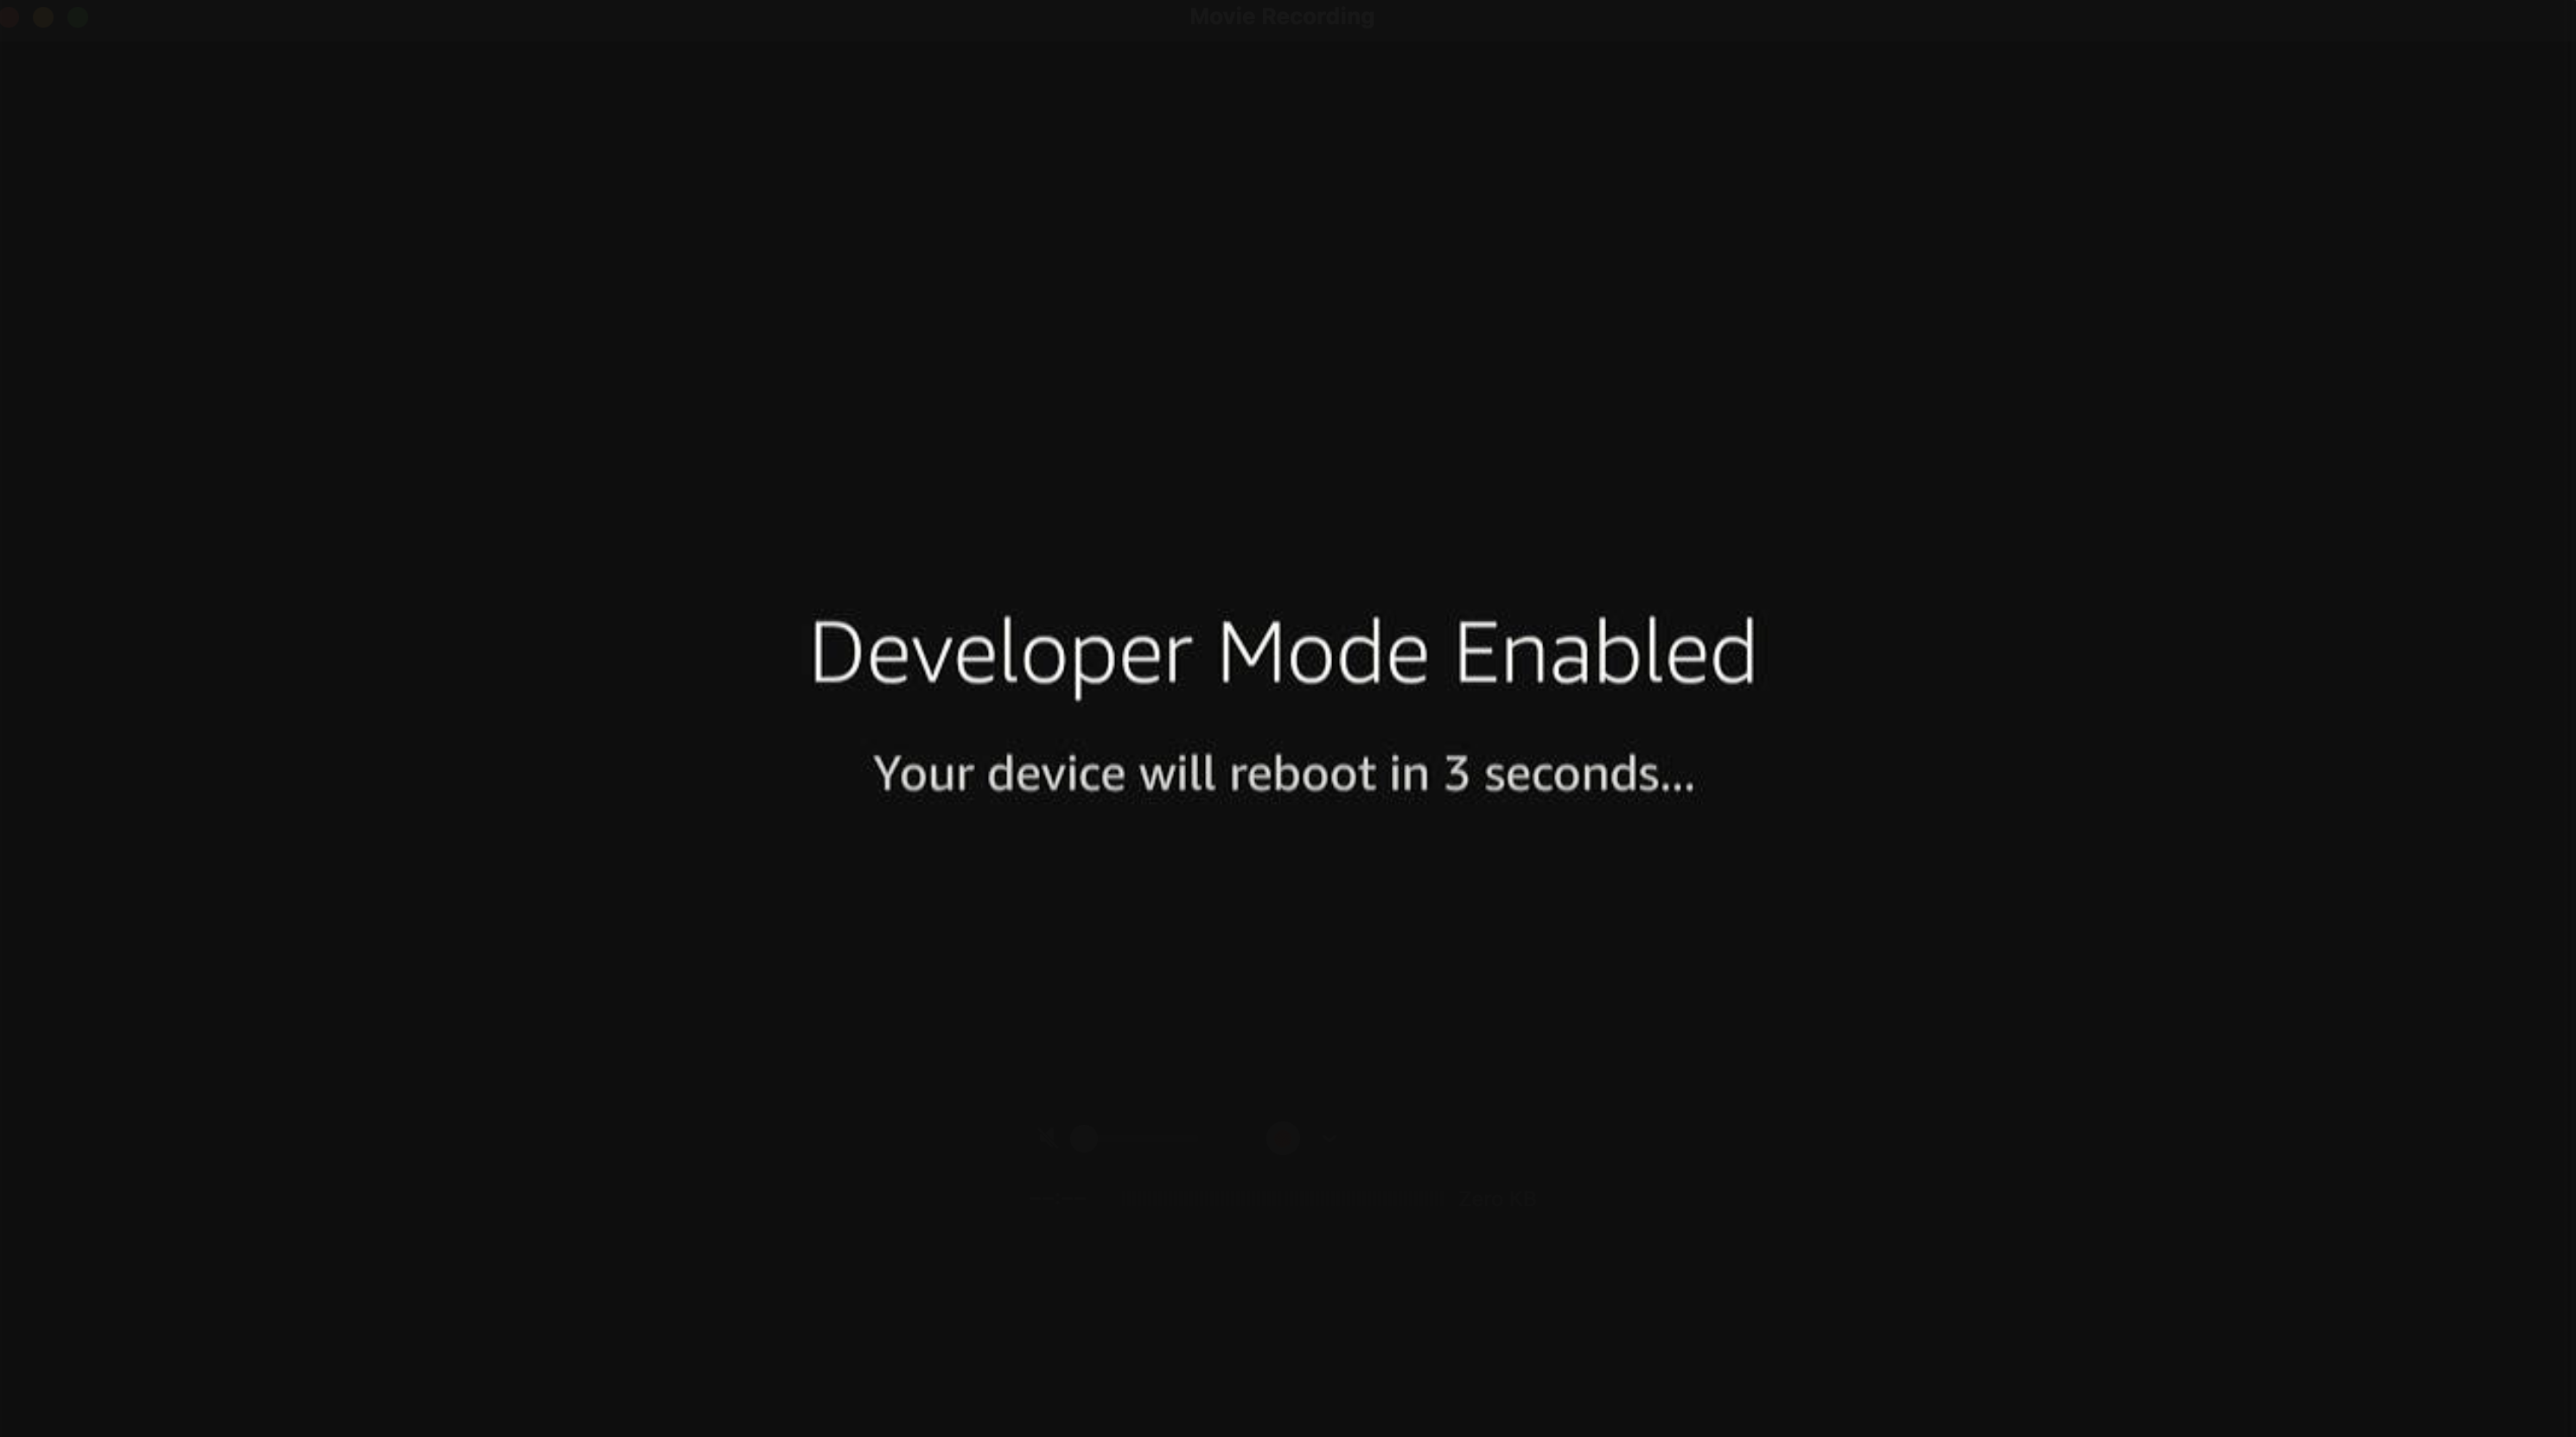
Wait for the device to reboot.
-
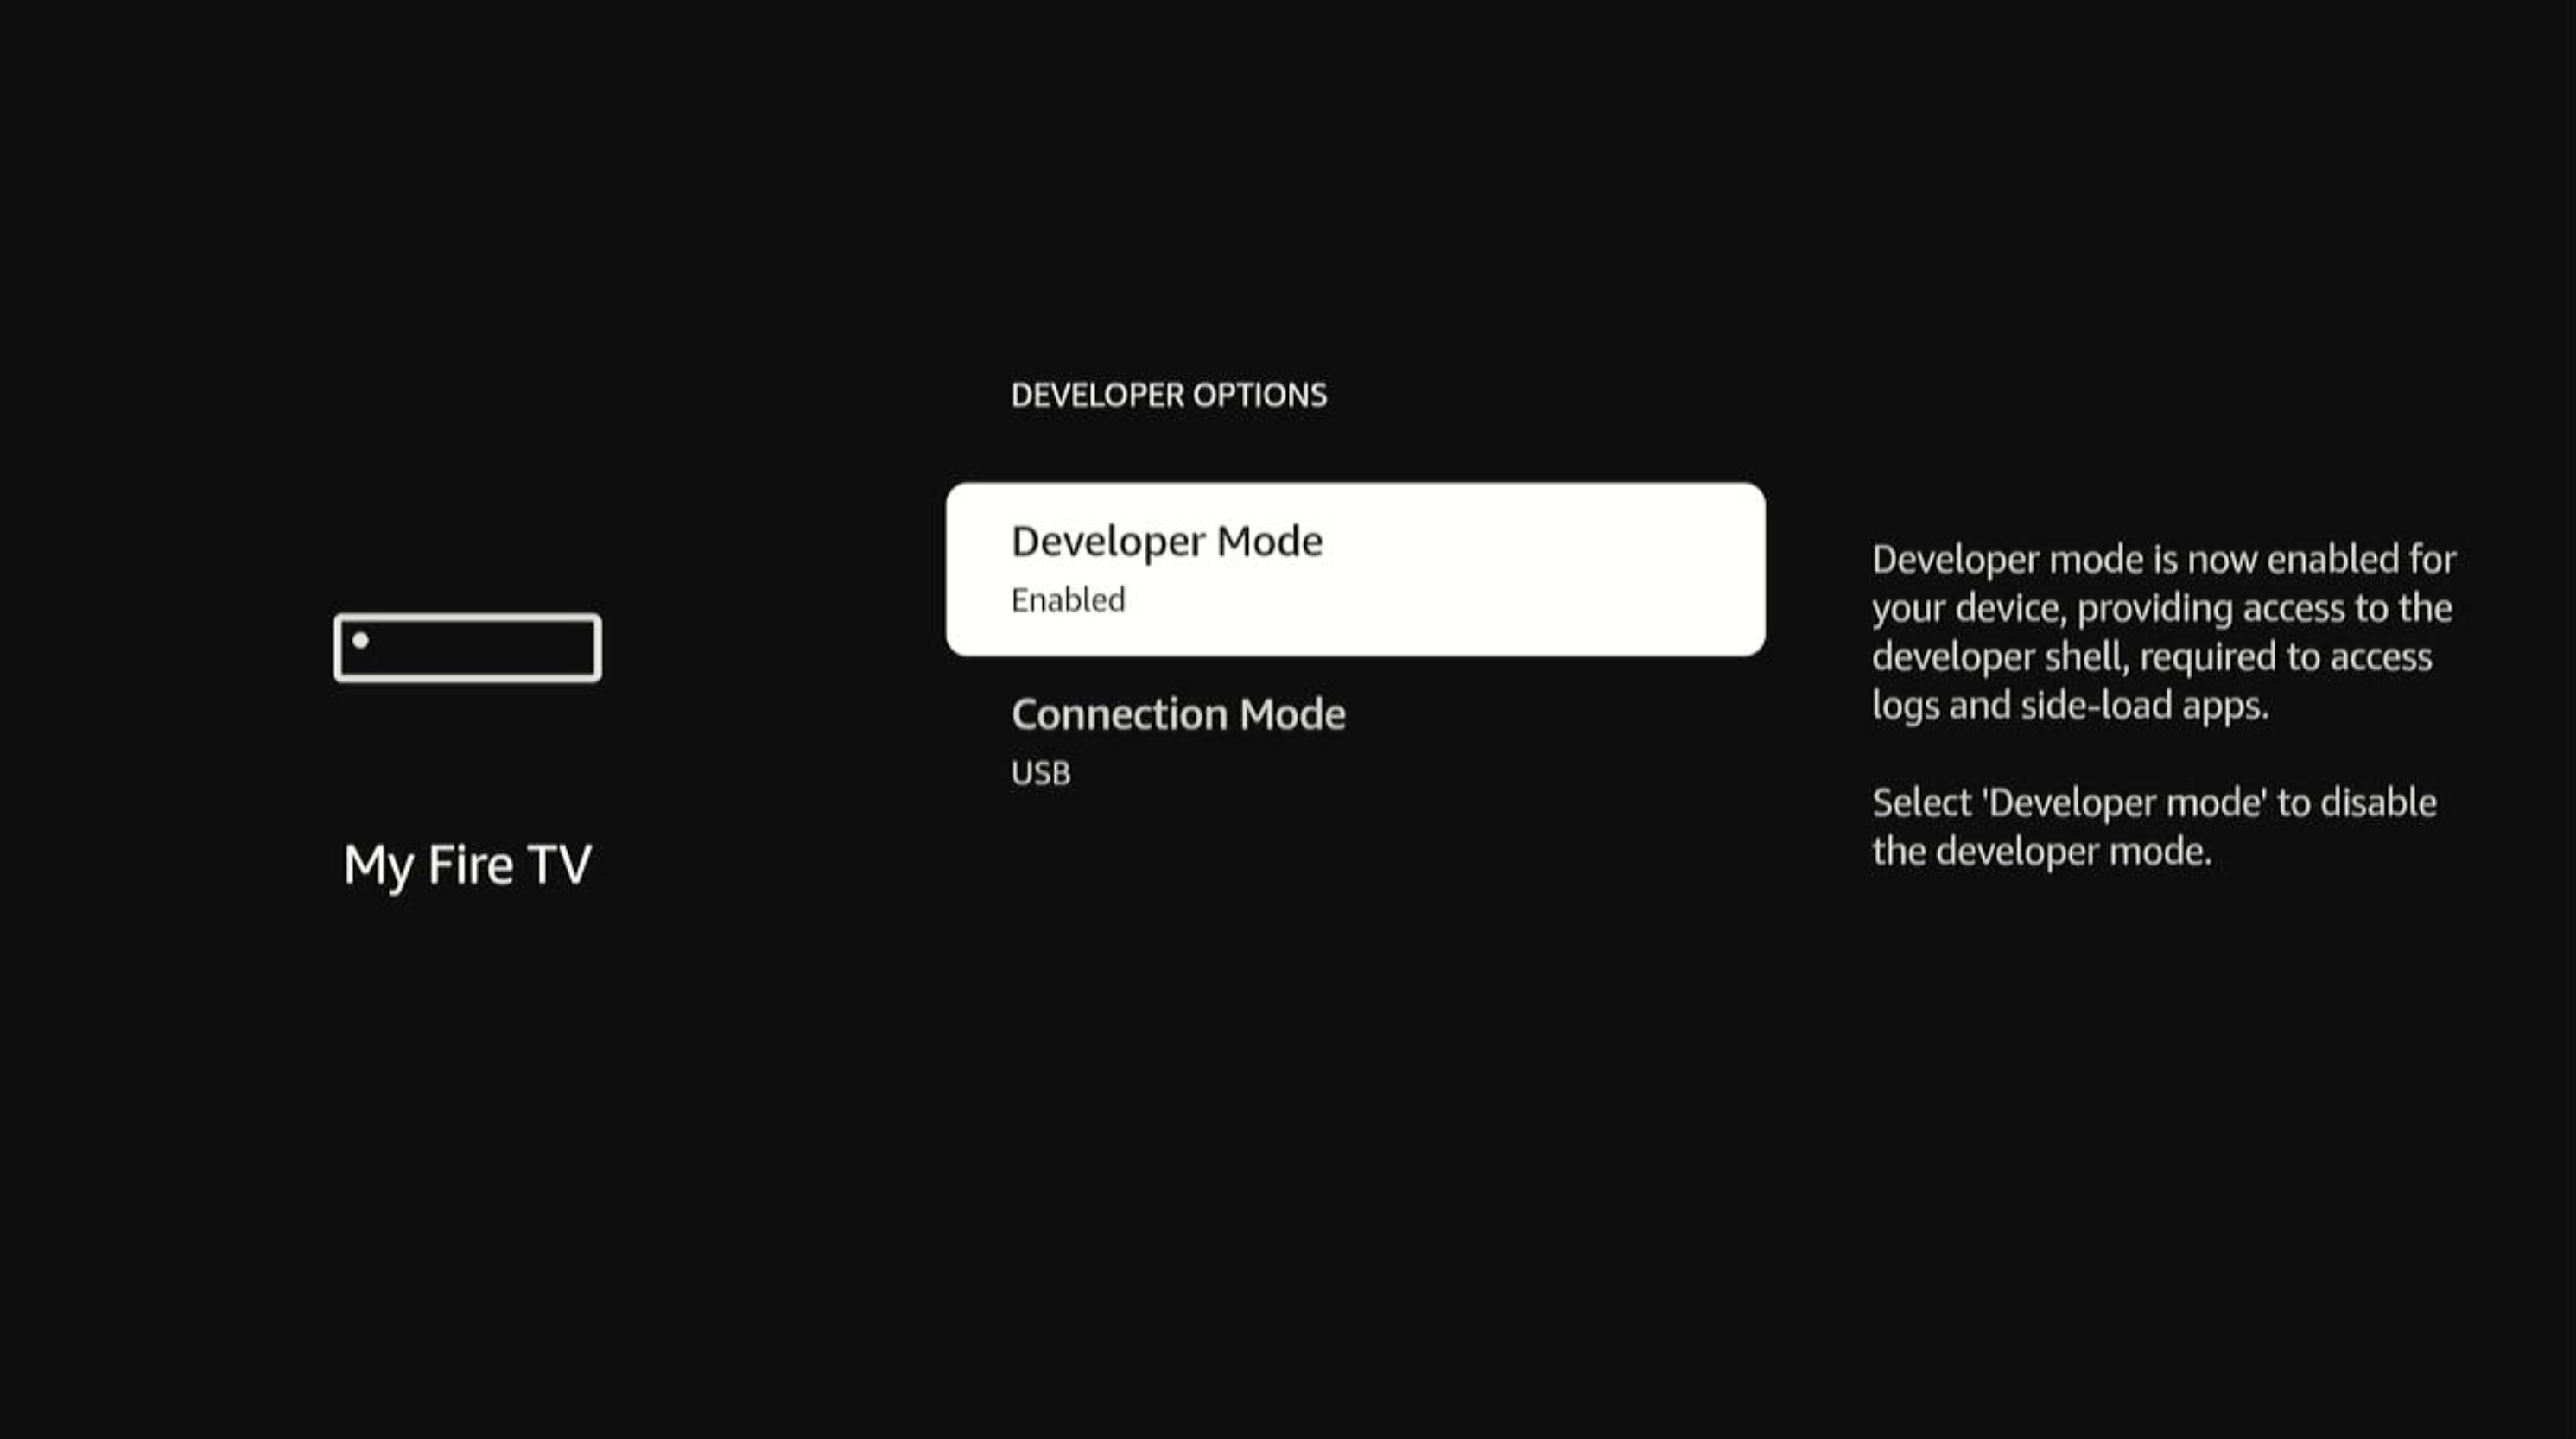
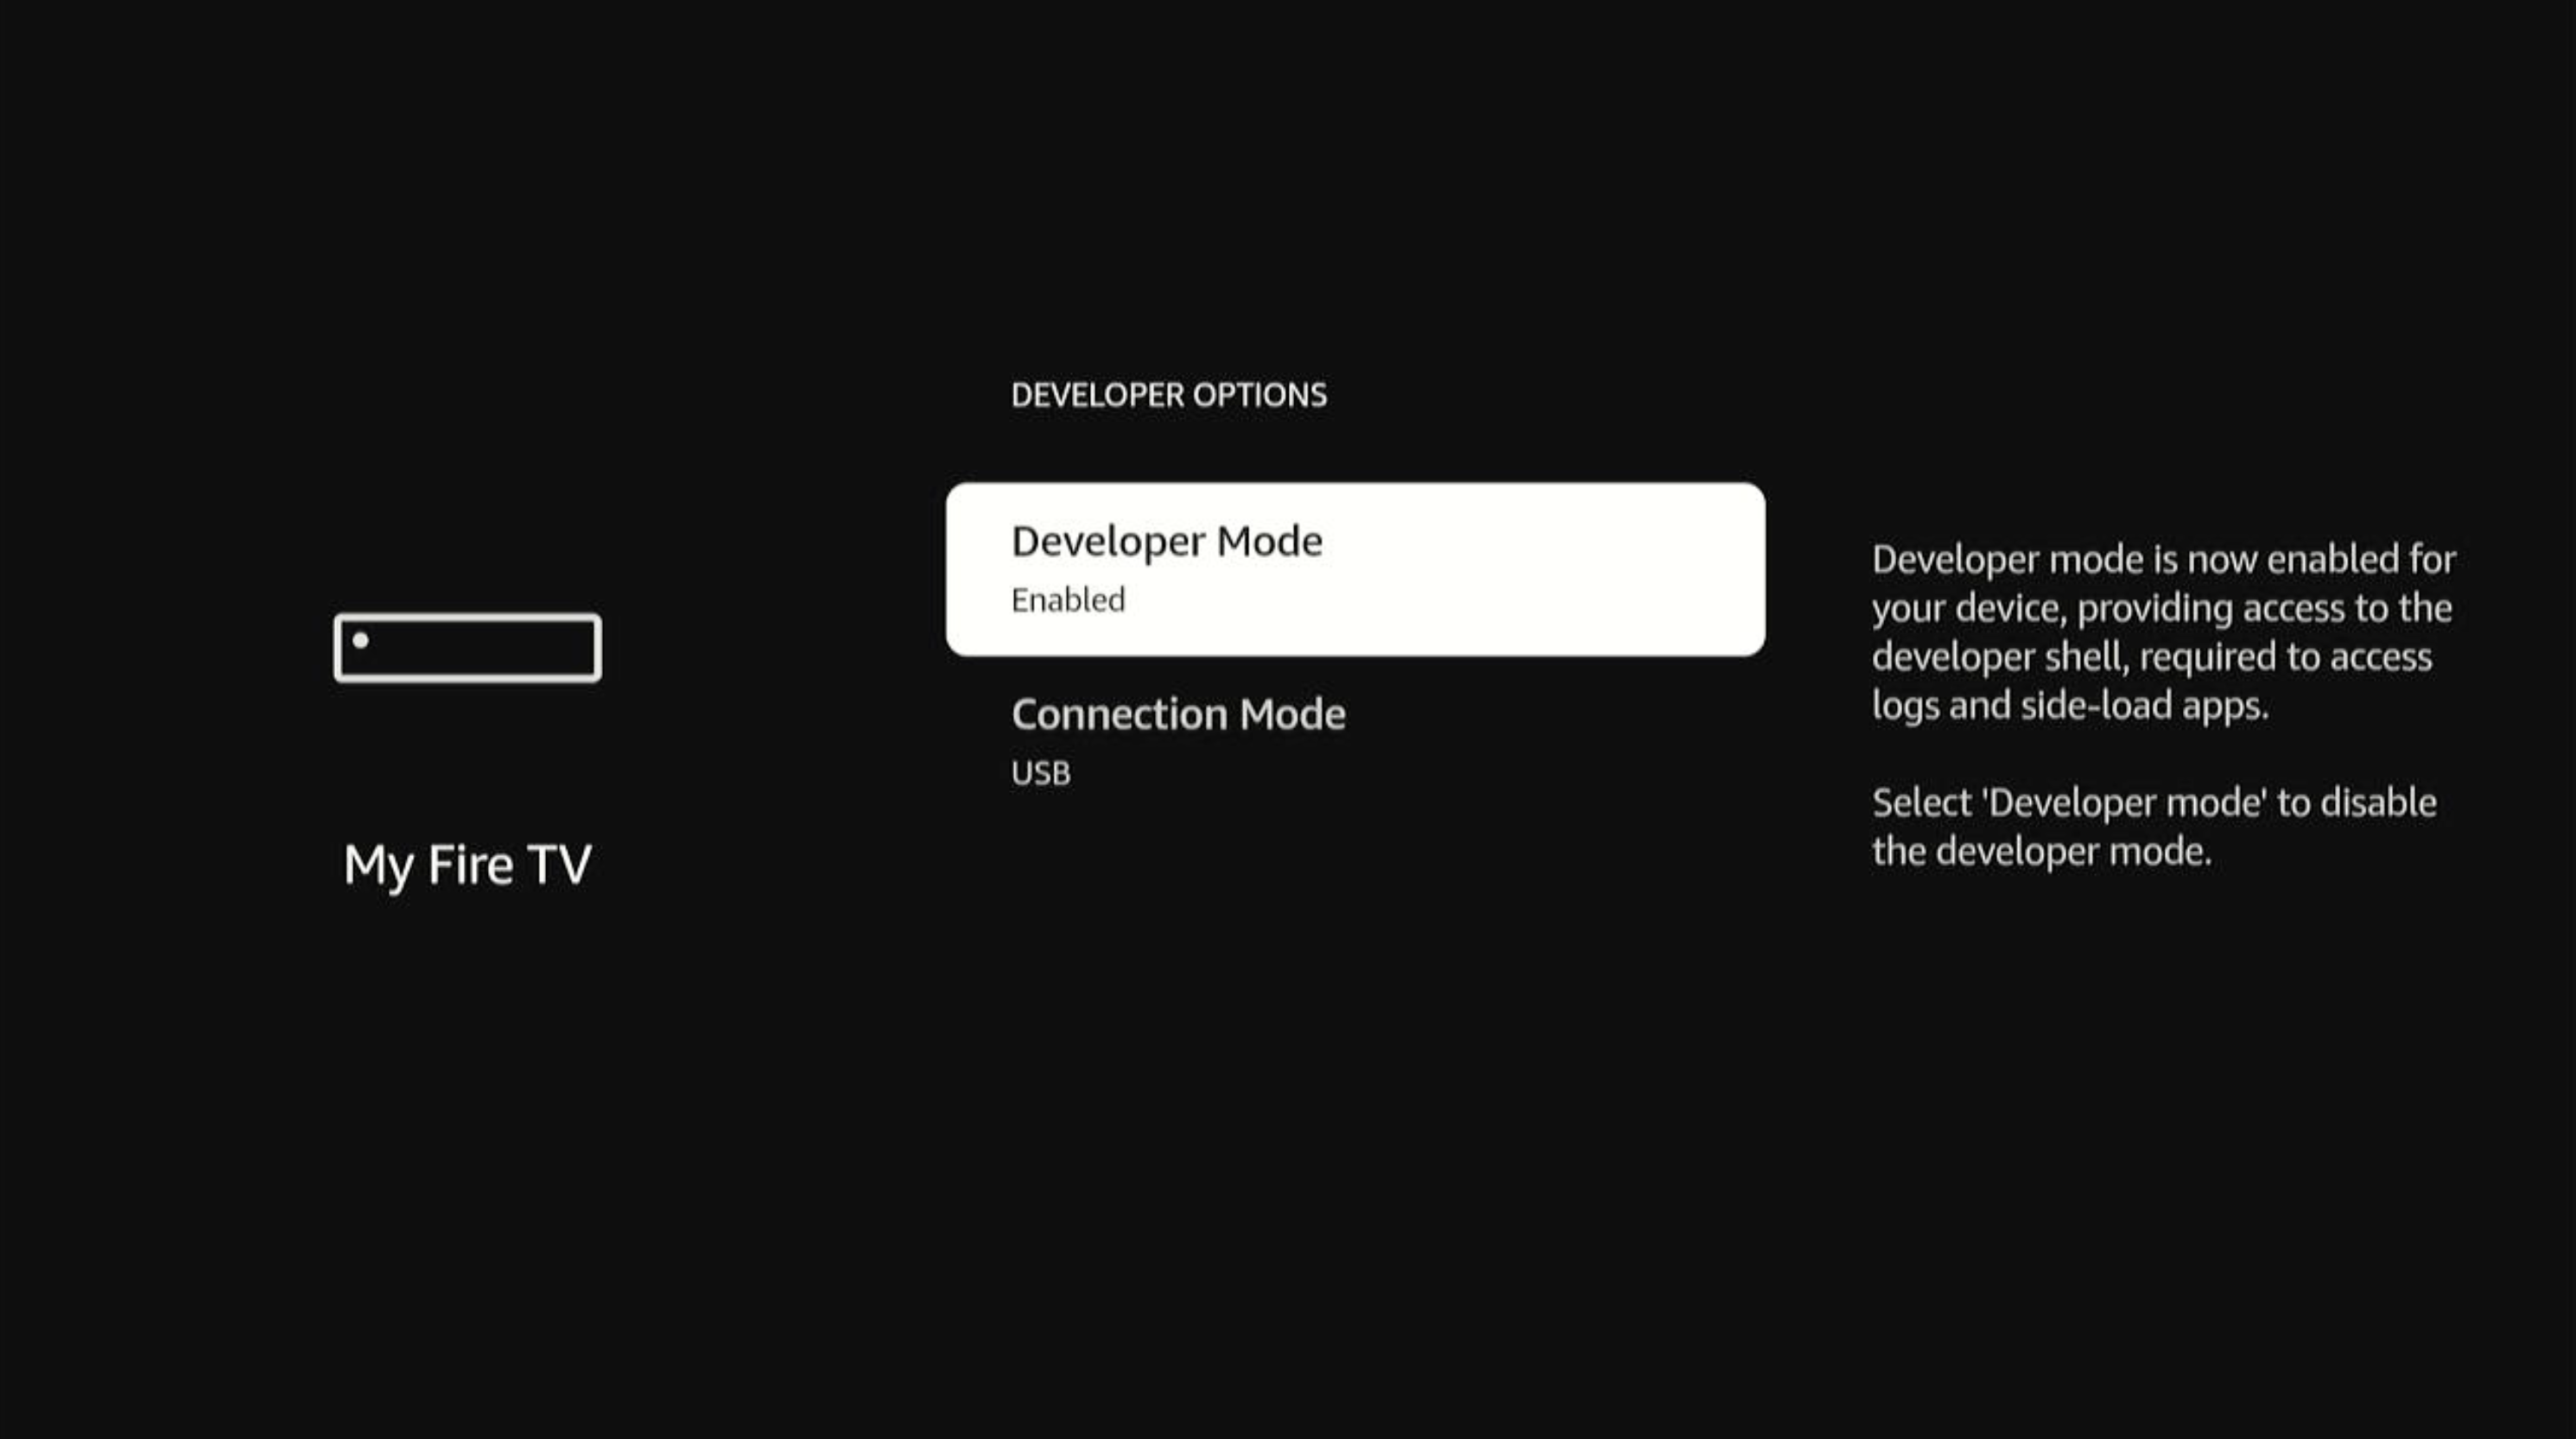
After the device reboots, navigate to Settings > My Fire TV > Developer Options > Developer Mode.
The Developer Mode status displays Enabled.
-
Check device recognition.
Example output with one device connected:Example output with multiple devices connected:
-
Connect to the device.
-
If you have one device connected:
-
If you have multiple devices connected, specify the Device Serial Number:
Example output:
-
If you have one device connected:
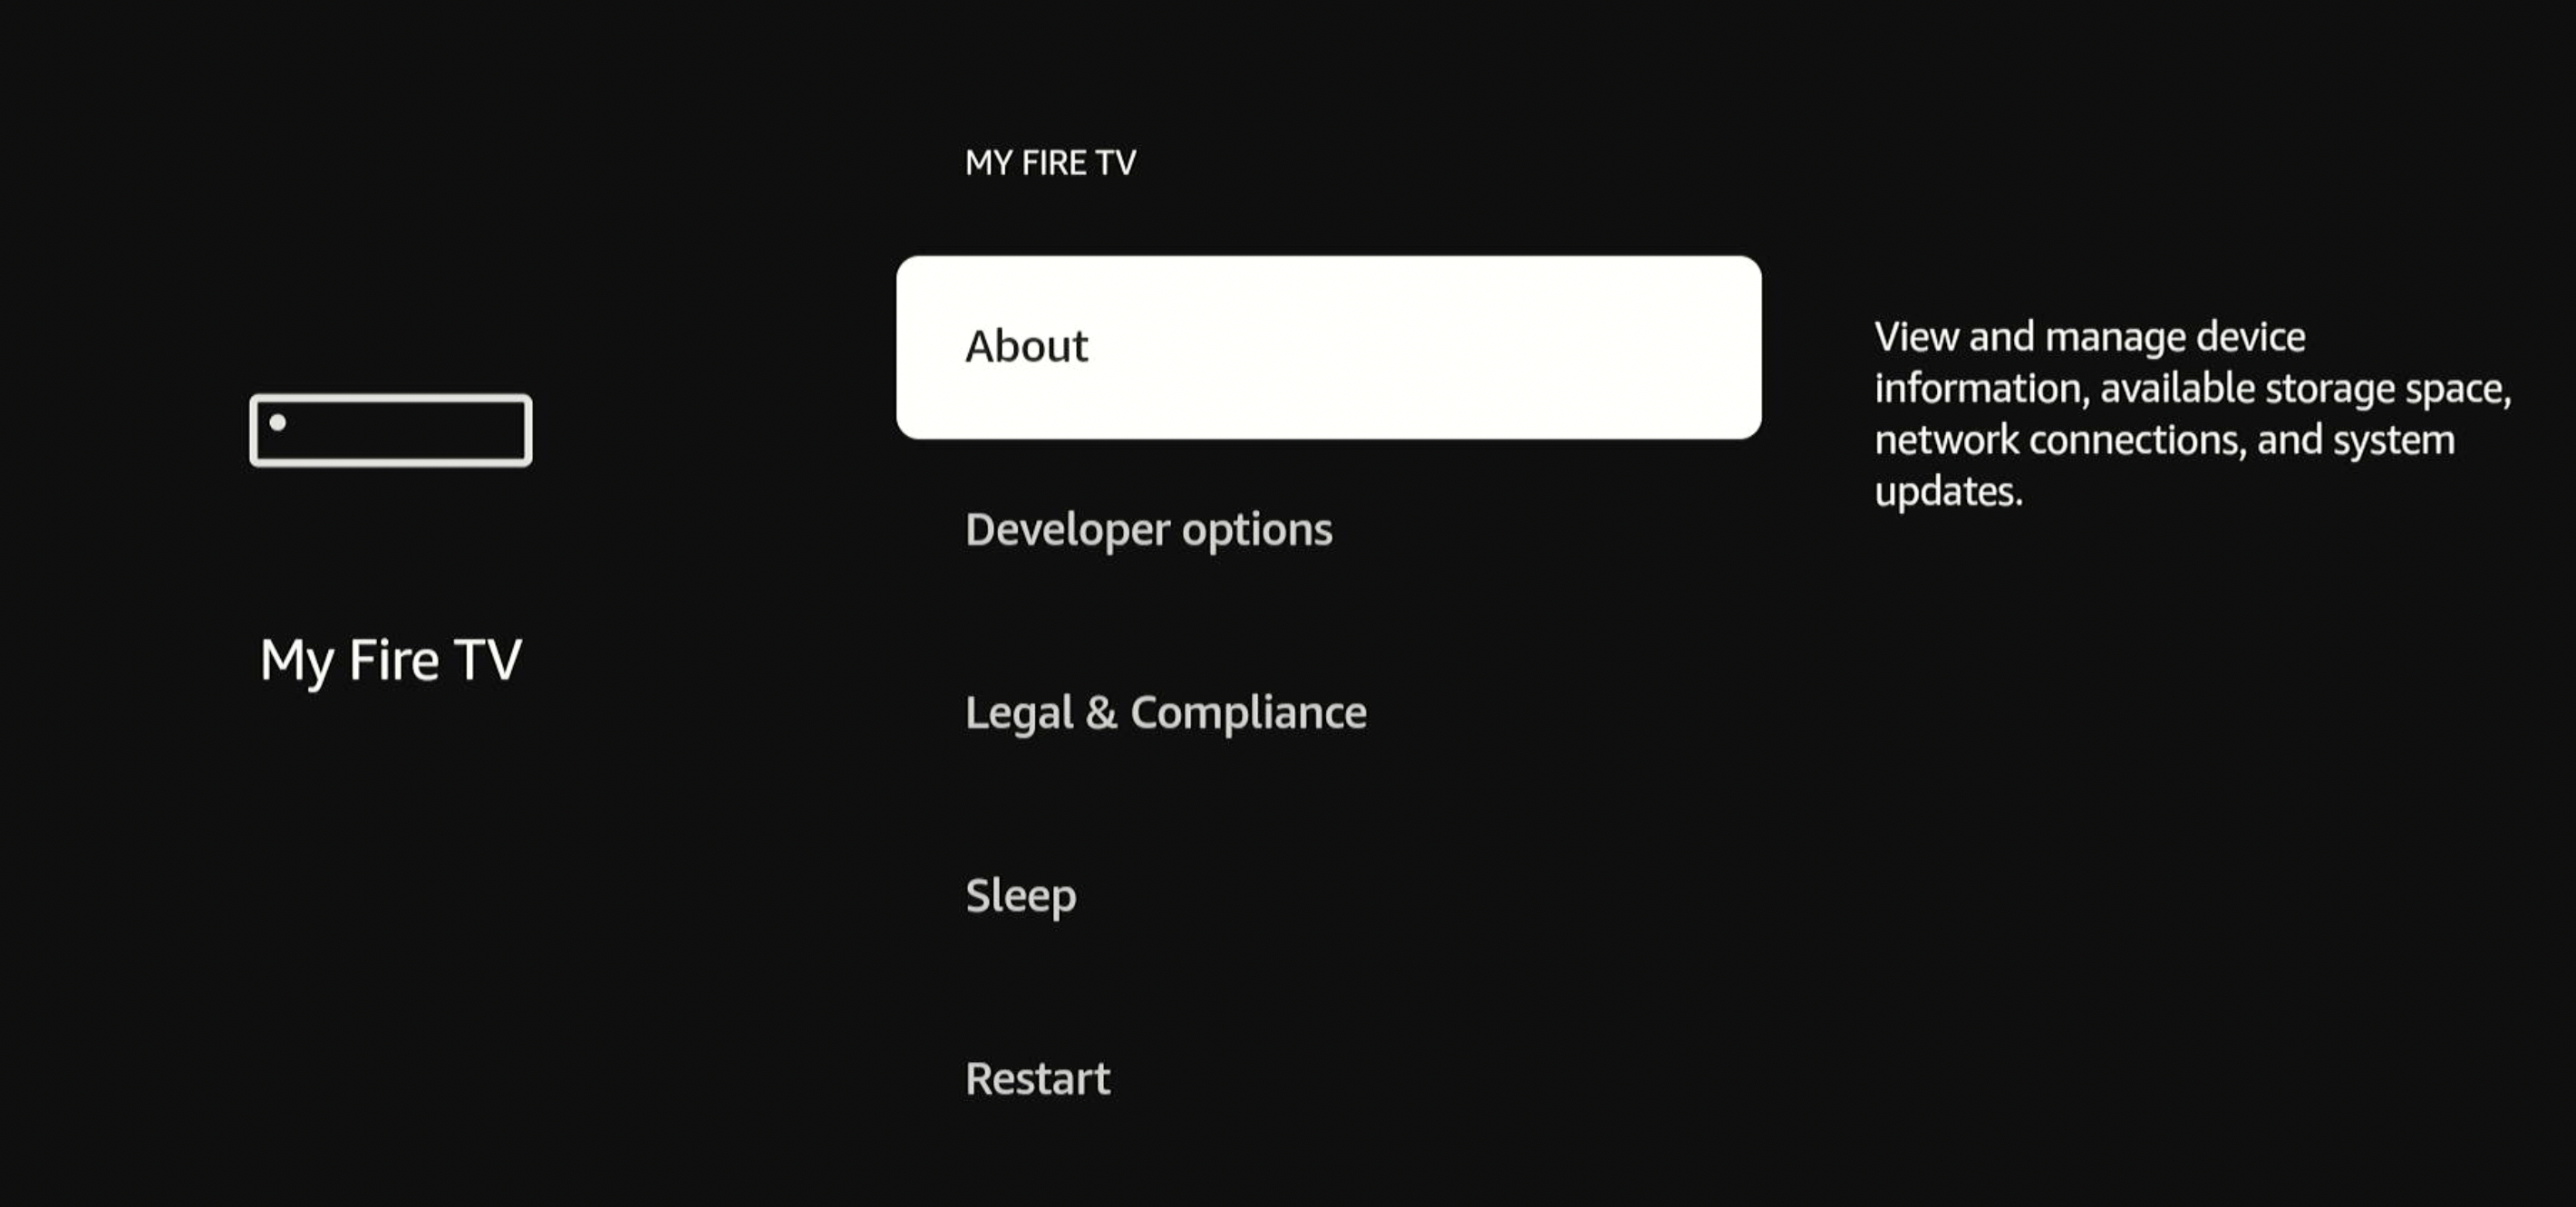
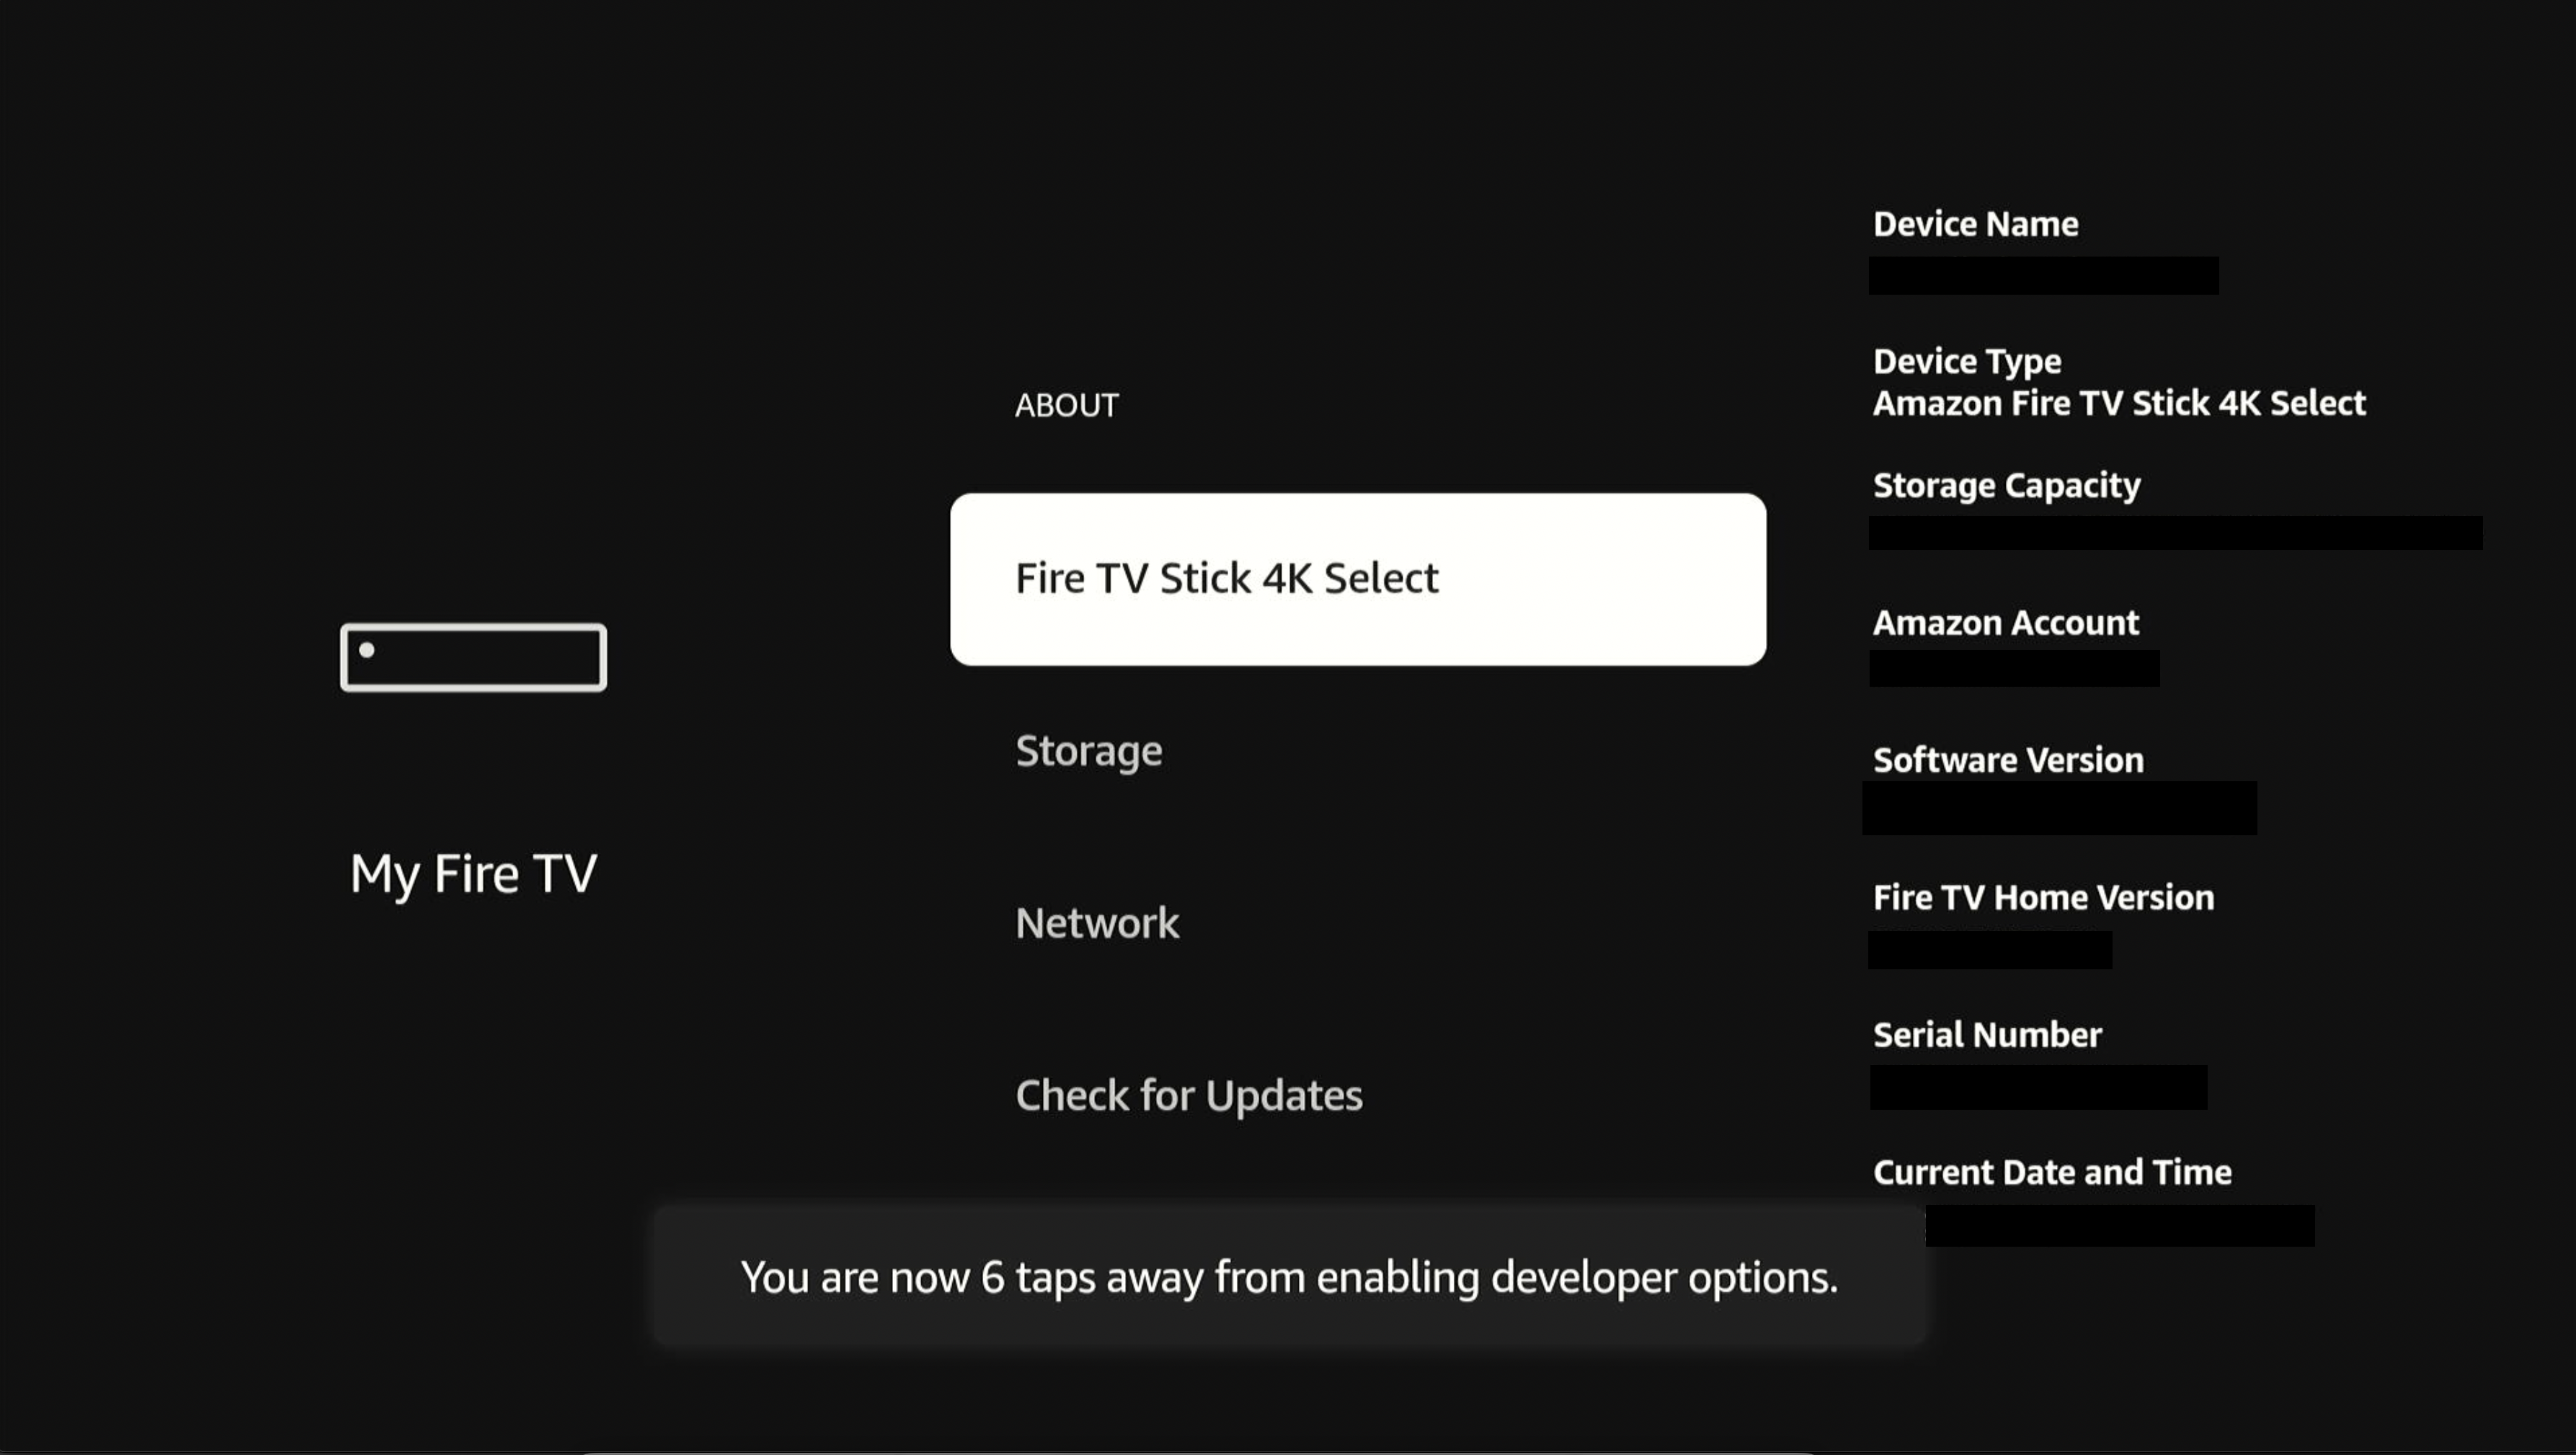
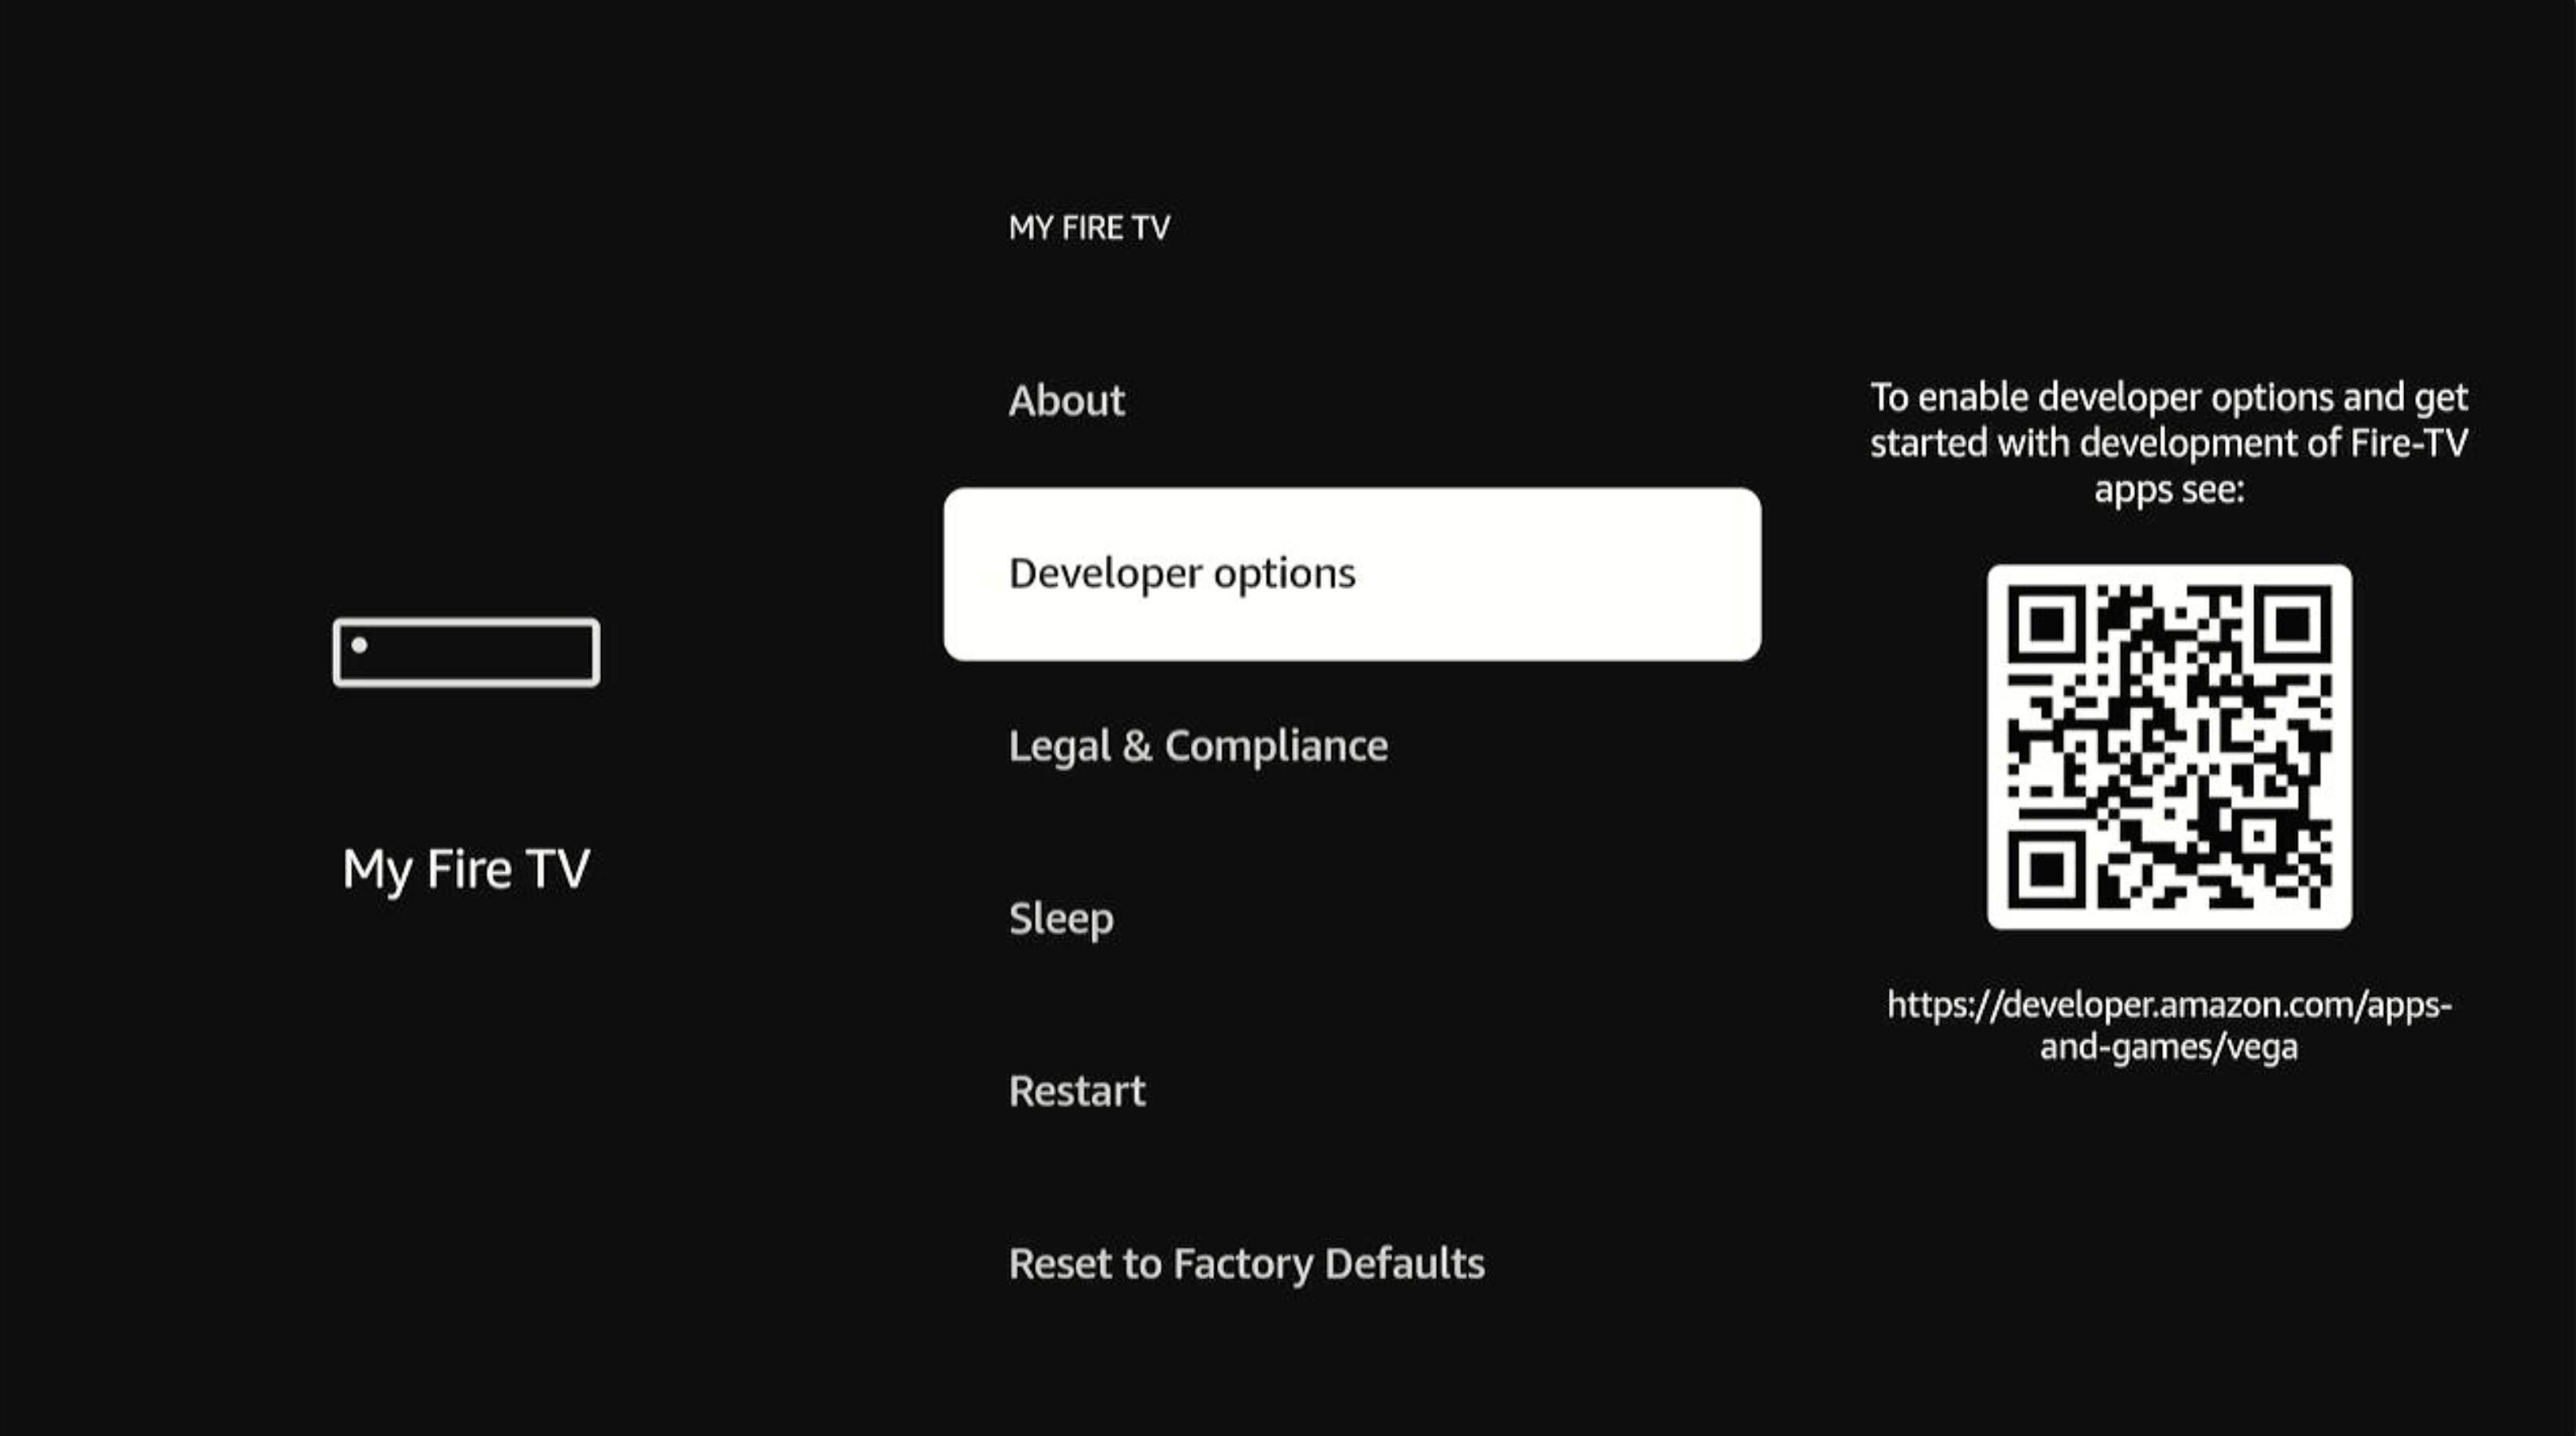
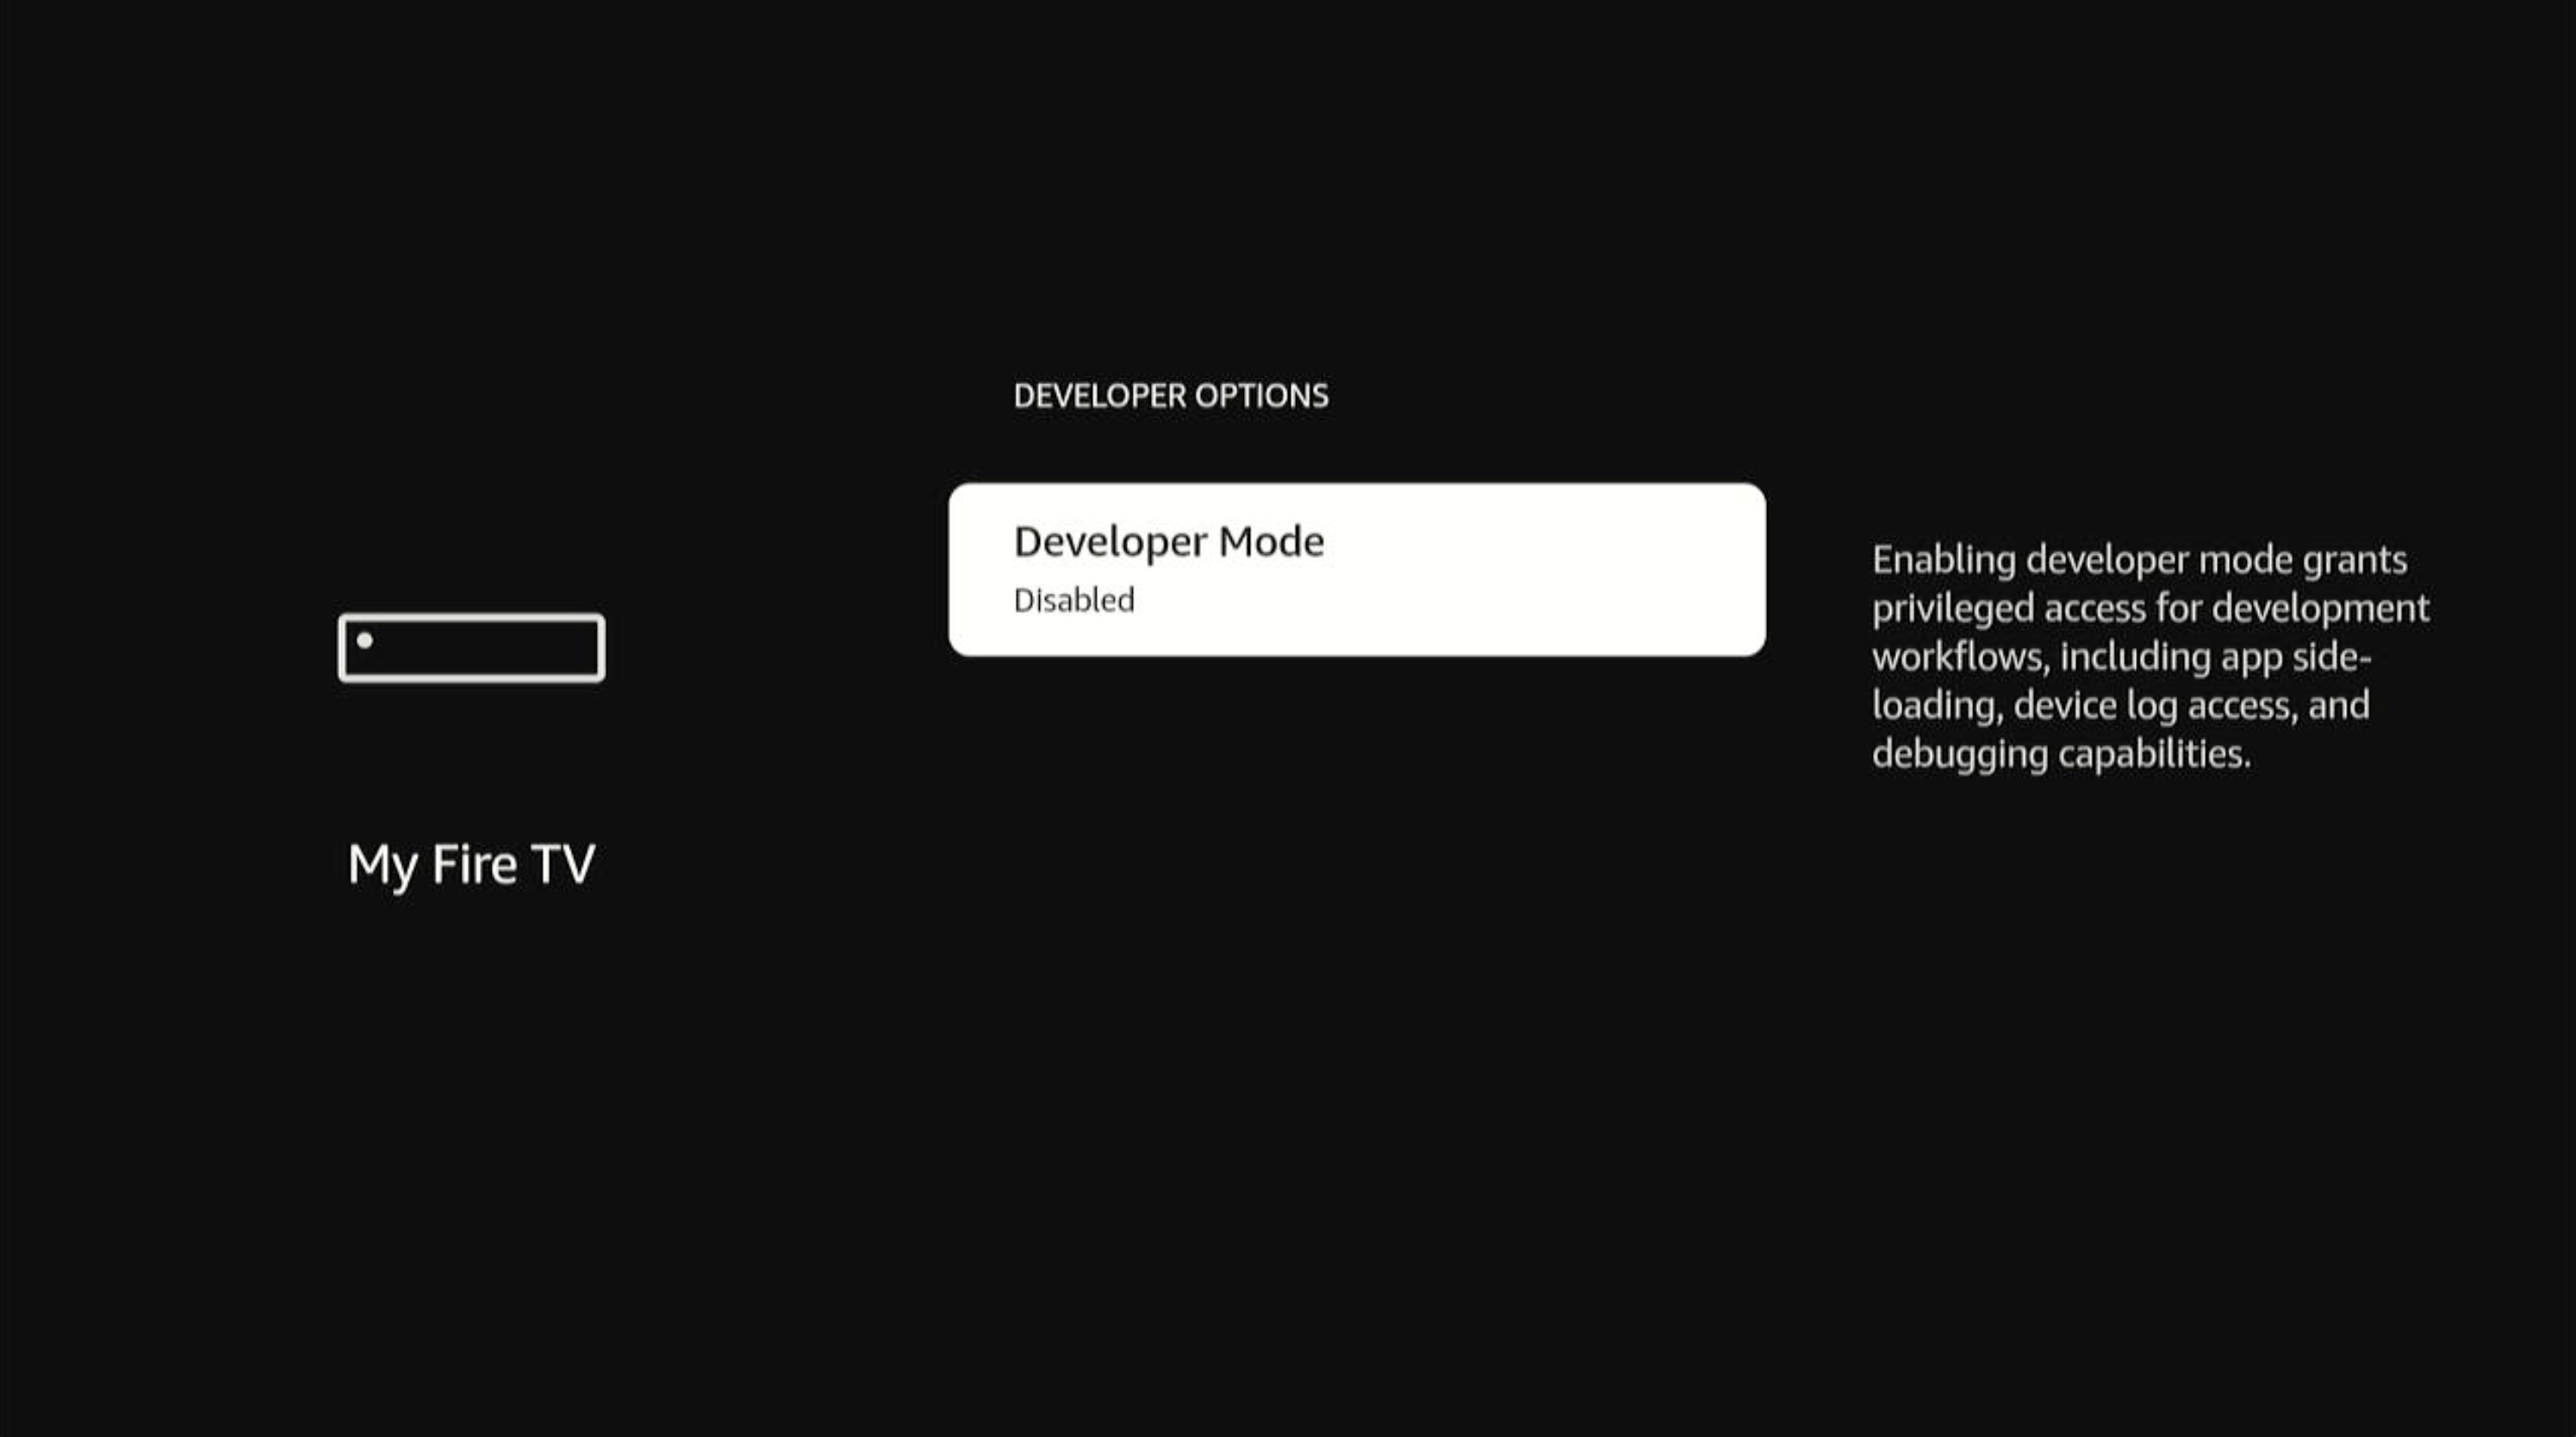
Developer Mode states
Developer Mode operates in enable, authenticating, and disable states. Enable state Theenable state activates full developer features including vsh shell access, package management through vpm, and component debugging capabilities.
Authenticating state
The authenticating state indicates the system is validating developer mode access during enablement.
Disable state
The disable state restricts access to standard user features.
Development tools
Developer Mode provides access to essential tools for package deployment, component management, and file operations. Use them in the correct context with proper permissions.Vega CLI
Use the Vega command line interface (CLI) commands to install, uninstall, and manage packages on your device. The following package operations are available:com.amazon prefix).
Component management
Use the component management commands through thevega device to launch, list, and terminate your app components. The key commands are:
File operations
Use file operations to transfer files between your development machine and device. The default shell only allows access to the/tmp directory, while component shells can access their specific directories. Always verify your file permissions after transfer, and remove temporary files when they’re no longer needed to maintain device storage. Remember that file paths are case-sensitive.
When deleting files, remember to:
-
Only delete files that were pushed to
/tmpfrom the default development shell. -
Delete the files in within the specific component shell by:
- Entering the component shell using:
vega exec vda shell -t component-id com.myorg.myapp.main - Navigating to the
/scratchdirectory, which is a bind mount of inside the component shell:
Default shell pushComponent shell pushPull from device - Entering the component shell using:
Best practices
When using Developer Mode, make the following practices part of your regular development workflow to prevent unintended system modification:- Sideload only apps with non-Amazon package IDs (verify your package ID doesn’t begin with
com.amazon). - Use the minimum access level needed for your task.
- Follow the principle of least privilege.
- Be mindful that your actions can affect device stability and security.
Troubleshooting and support
When issues arise during development, start by identifying which area is affected (authentication, shell access, package management, component launch, or file operations). Causes of common issues include incorrect permissions or device state restrictions. If the solutions described in the following sections don’t resolve your issue, collect relevant logs usingloggingctl log before seeking support.
Authentication issues
Common development issues
Debugging tools
Useloggingctl log to collect system logs and monitor component status. Each debugging tool has specific access levels based on your device state.
Related topics
- Connect to a Device over TCP/IP
- Run Your App
- Vega CLI Command Reference
- Use Loggingctl to Manage System Logs